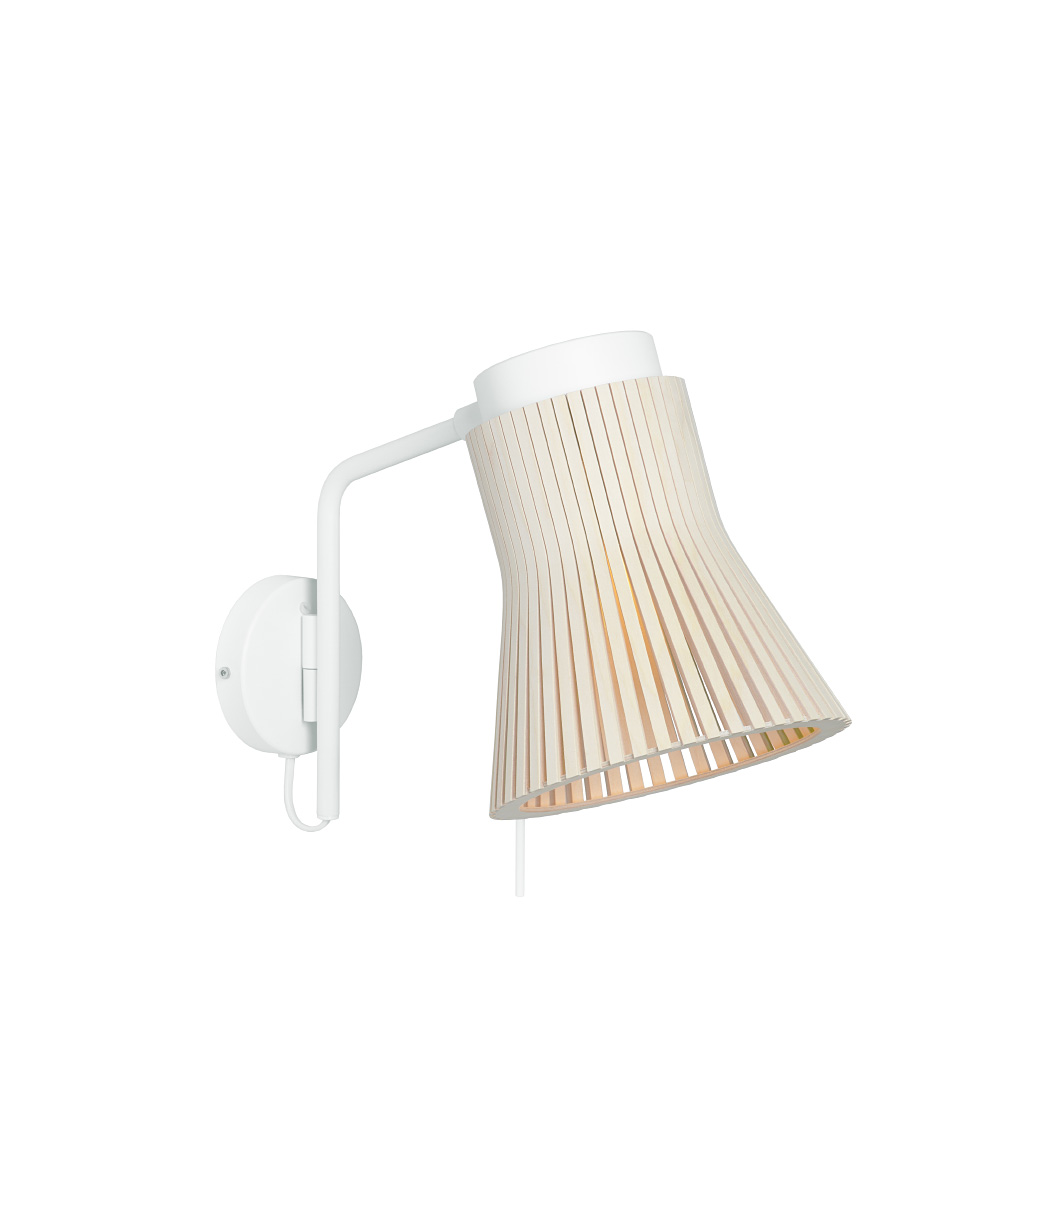
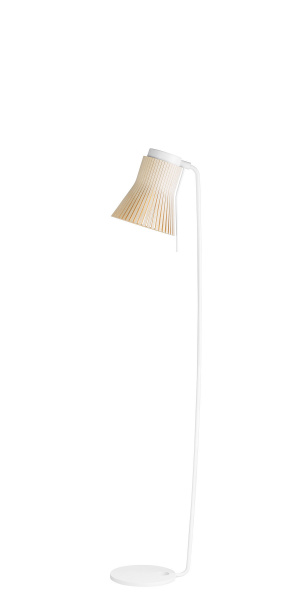
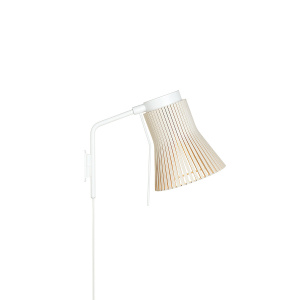
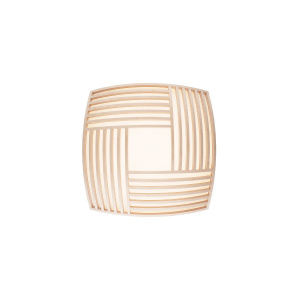
Petite 4630 wall lamp:
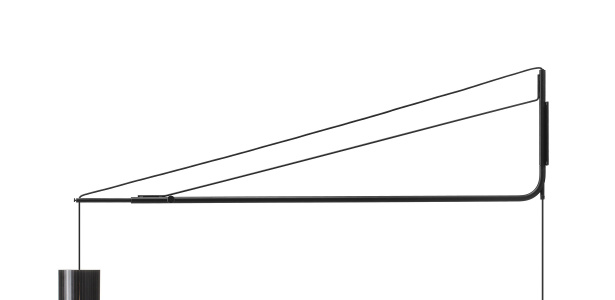
Side to side
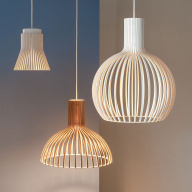
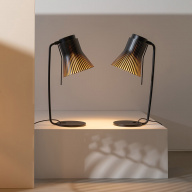
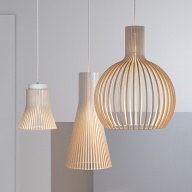
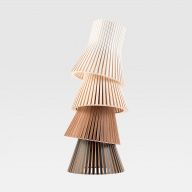
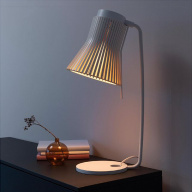
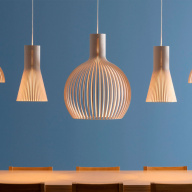
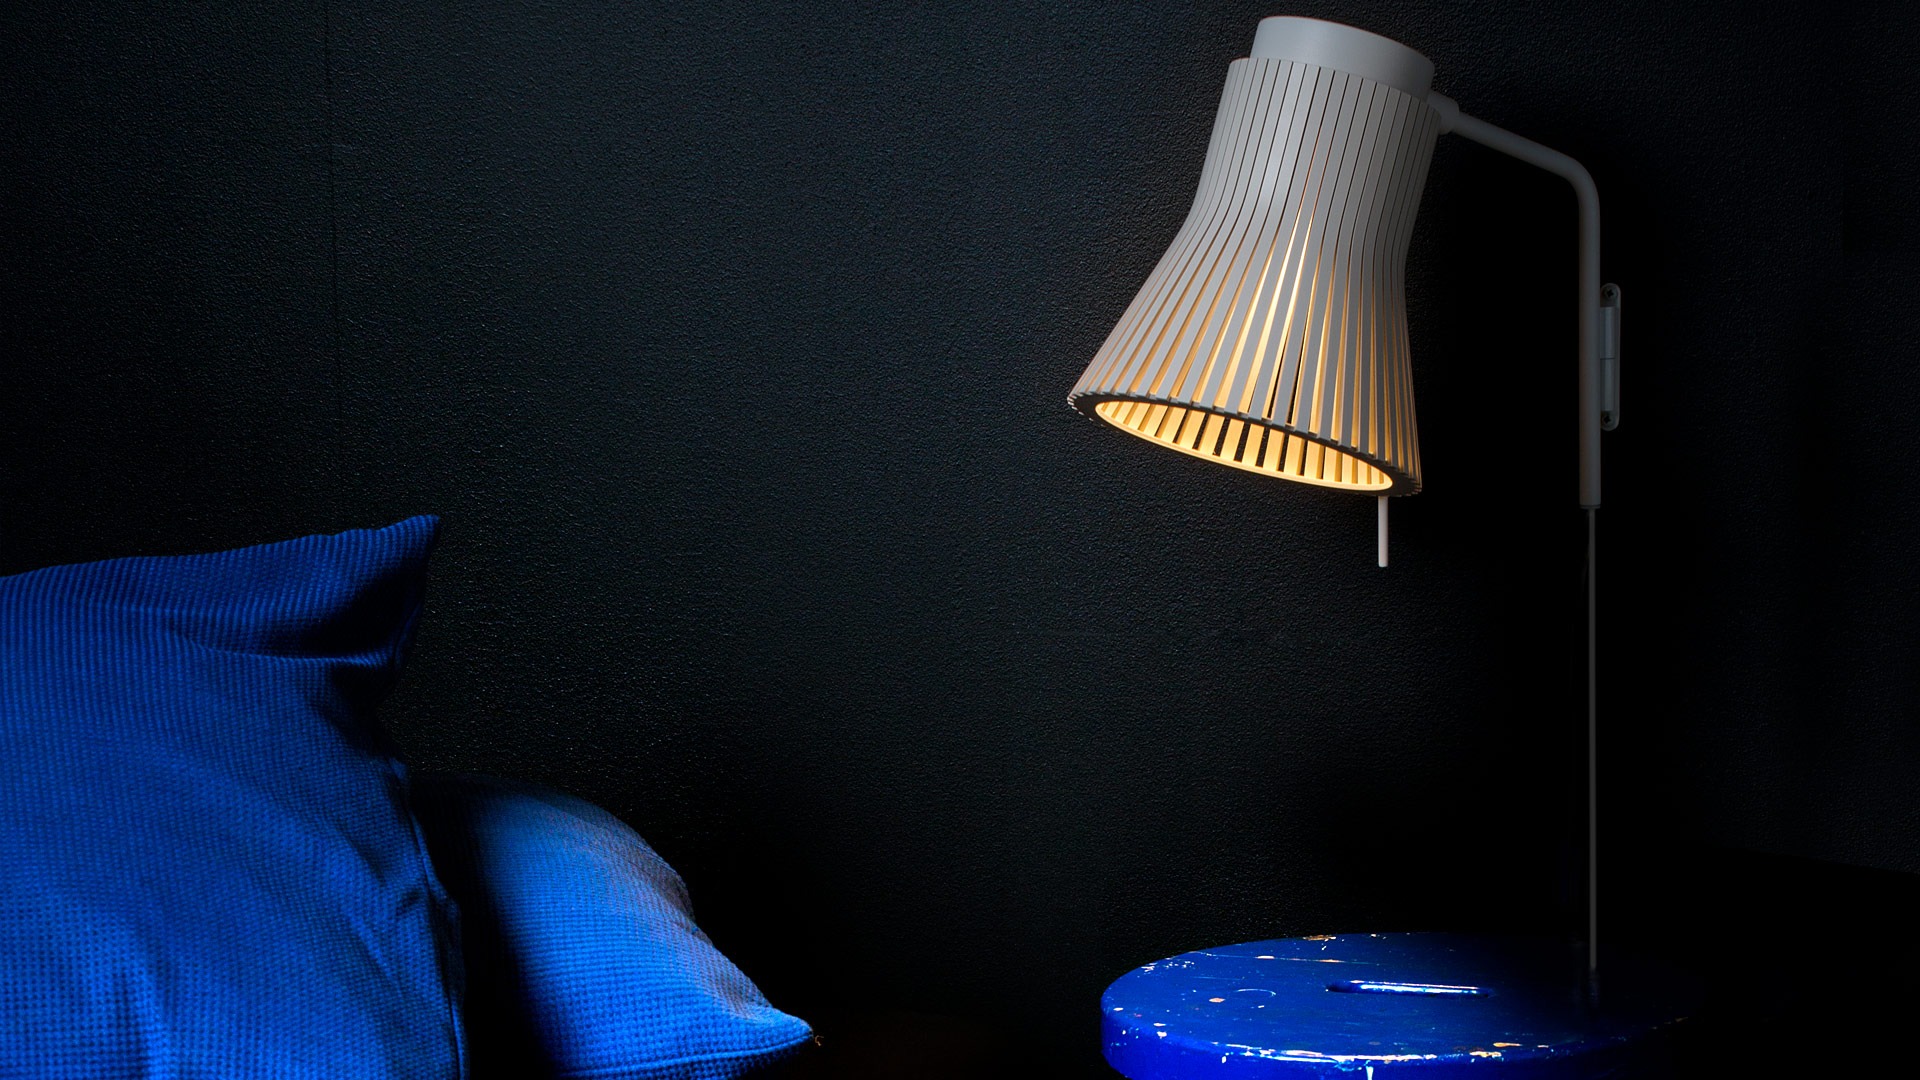
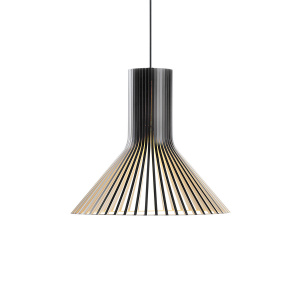
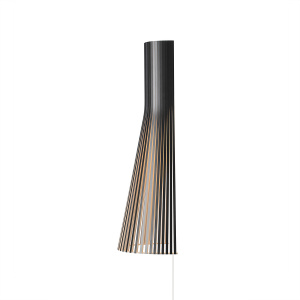
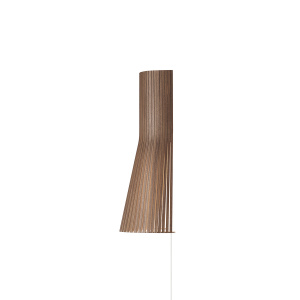
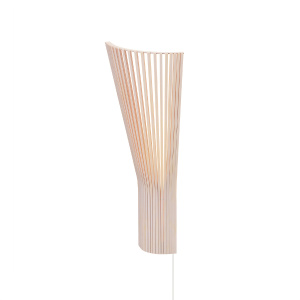
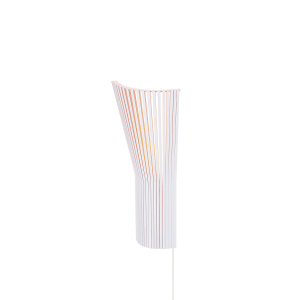
The perfect turnable wall side companion for any bed in need of a cosy light. With or without direct wall mounting. Designed by architect Seppo Koho, launched in 2016.
Petite 4630 wall lamp
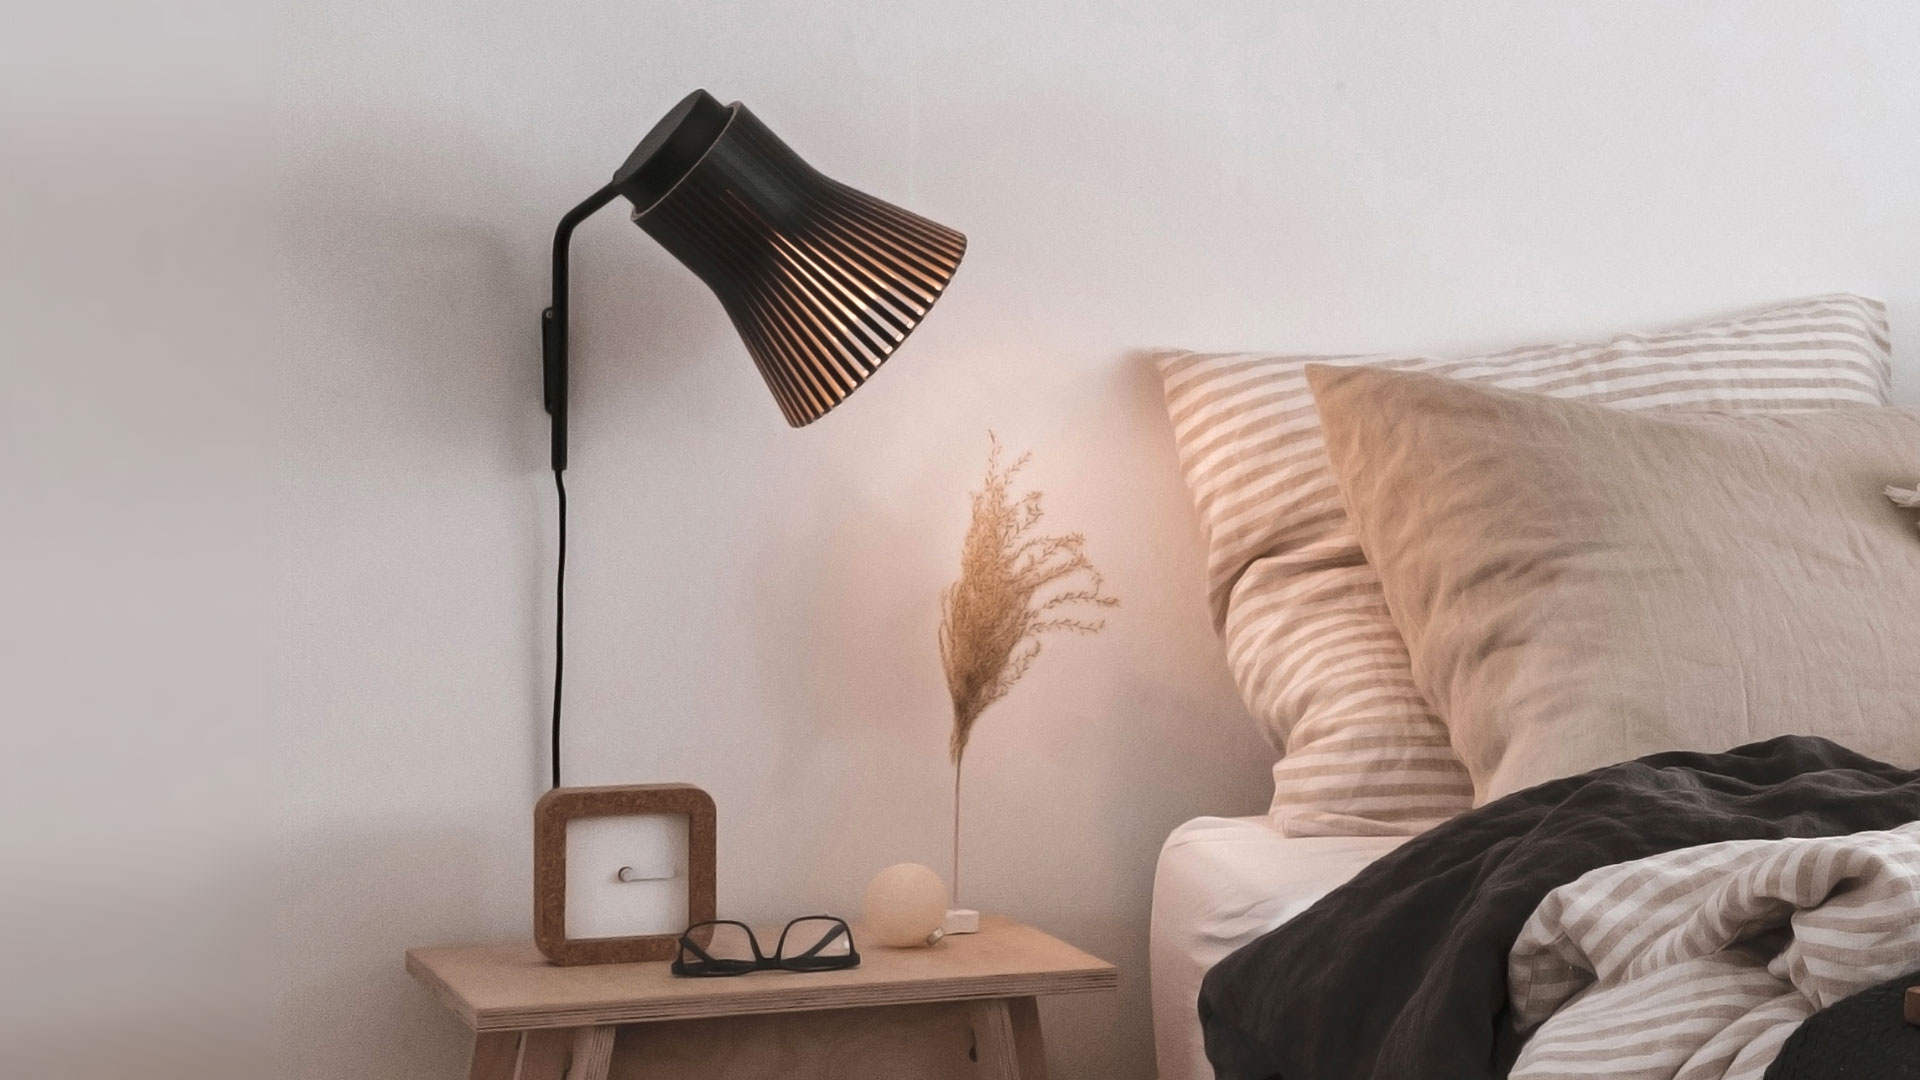
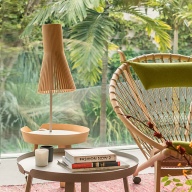
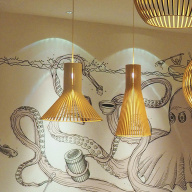
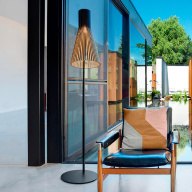
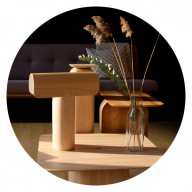
Petite 4630. Private residence. Lisse, The Netherlands. Photo by Danielle van den Reijden
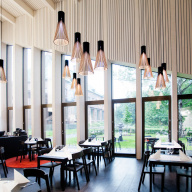
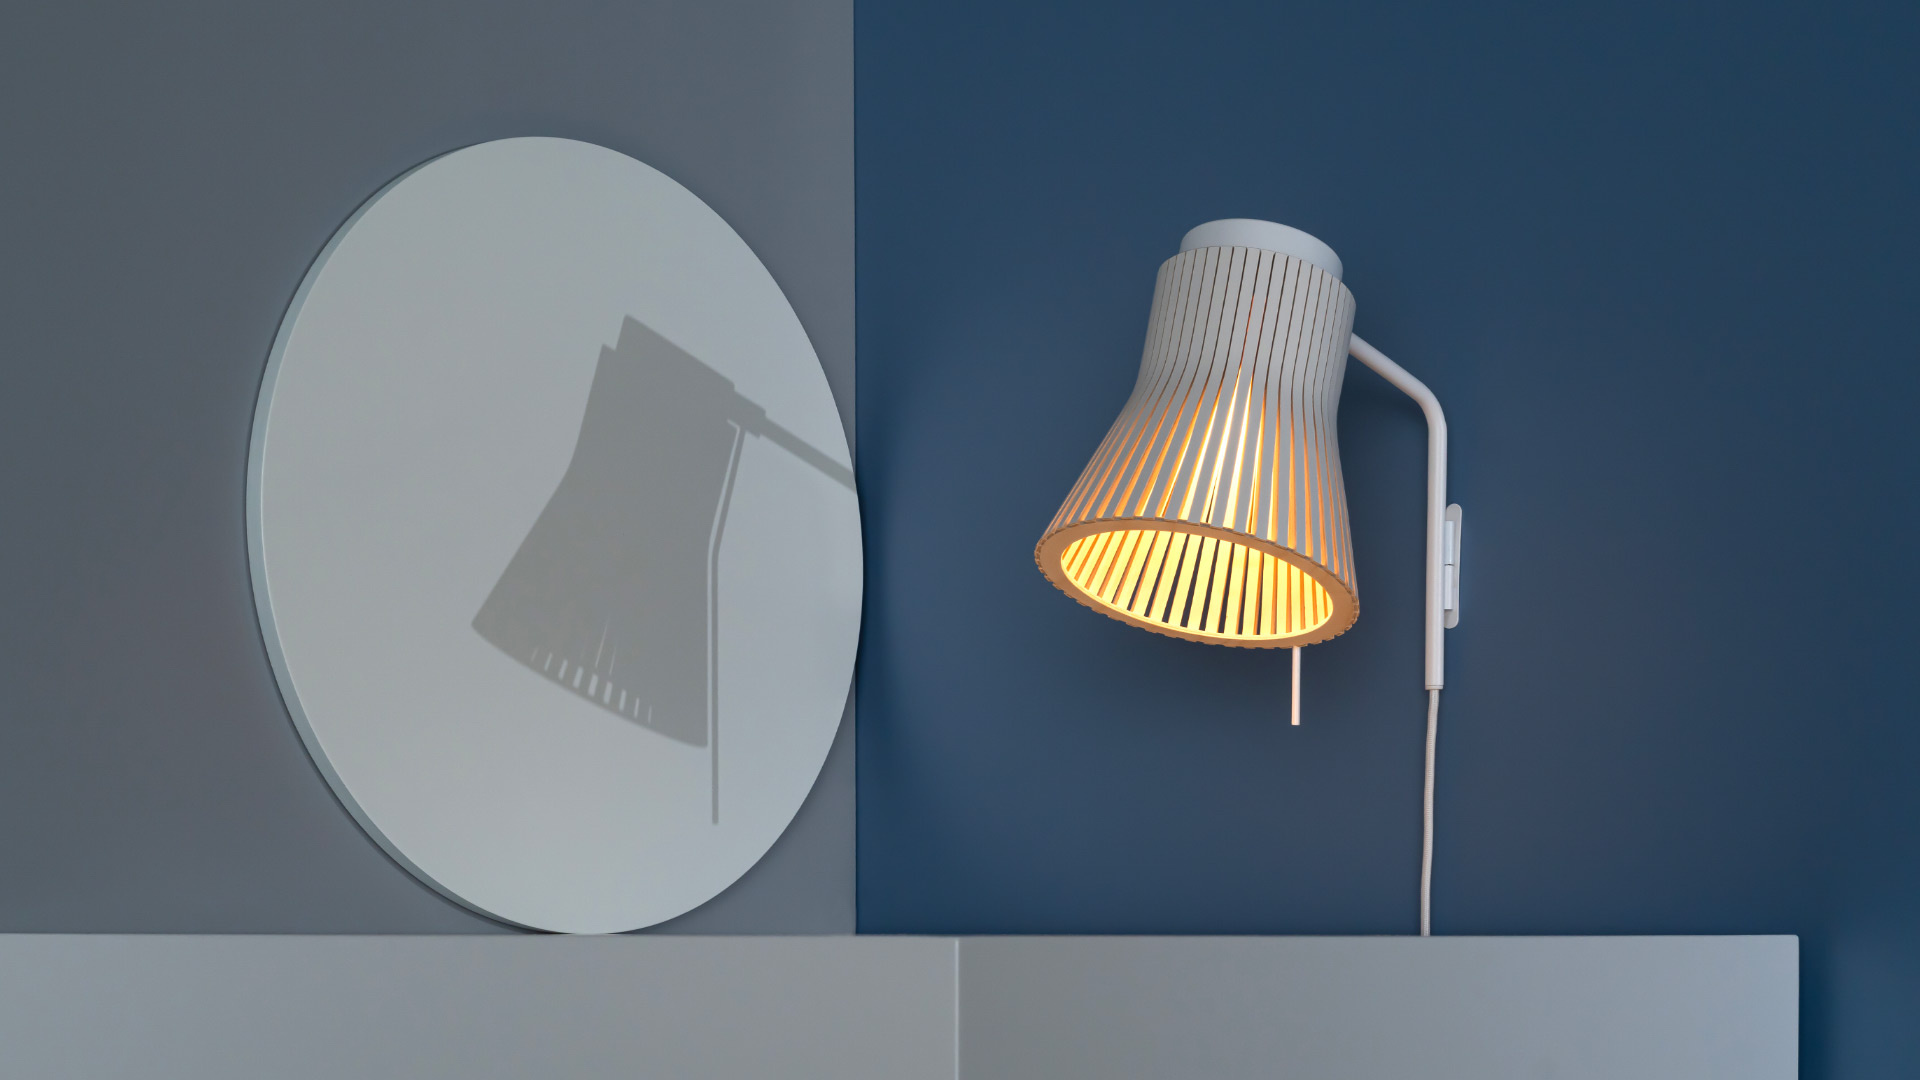
Petite 4630. Model room, Helsinki, Finland. Photo by Uzi Varon
More images of the Petite 4630 wall lamp here
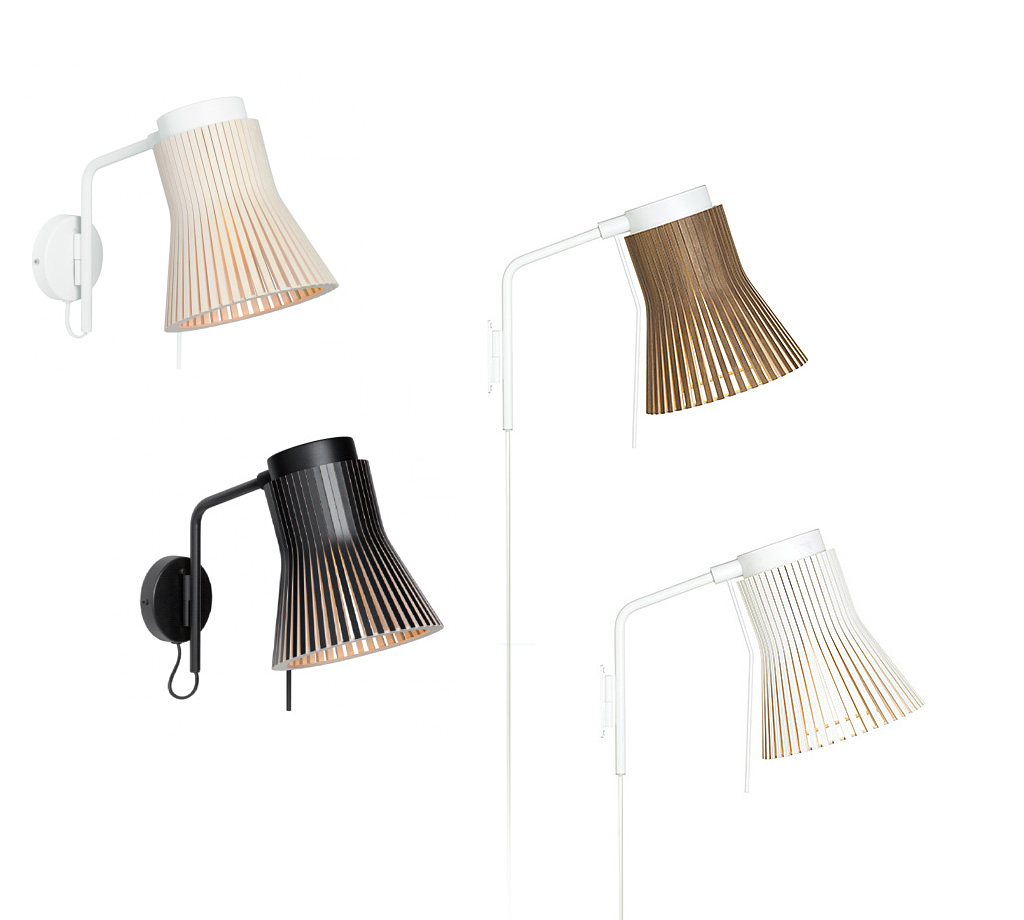
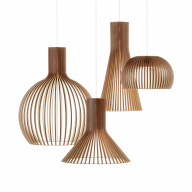
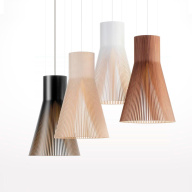
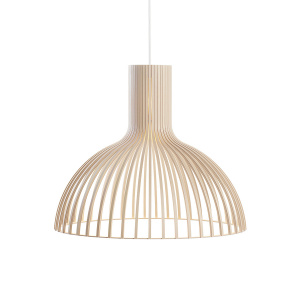
Handmade from PEFC-certified form-pressed birch in Finland by highly skilled craftspeople.
| Shade | Arm | Cable |
| Natural birch | White | White |
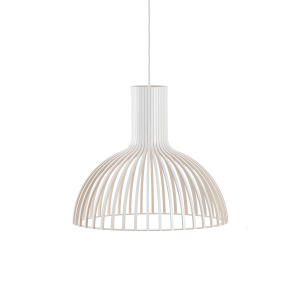
| White laminated | White | White |
| Black laminated | Black | Black |
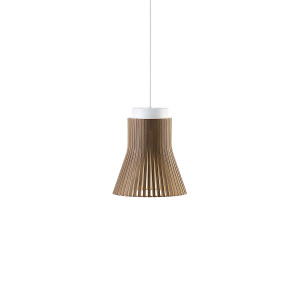
| Walnut veneer | White | White |
| Material | Form-pressed birch slats, fine textured powder coated steel arm |
| Dimensions | Height 31 cm Depth 37 cm Width 20 cm Base 1,2 x 8,4 cm (direct wall mount Ø 10 cm) Weight 1,2 kg Package 35 × 30 × 36 cm, 2,1 kg |
| Voltage | 220-240VAC 50Hz |
| Light source | GX53 base, LED max 7 W. Comes with a LED bulb (Airam Pro LED GX53, 4,9 W, 3000 K, 470 lumen, dimmable, may vary). The use of special bulbs such as halogen, mirror or 12 V bulbs in Secto Design lamps is prohibited, due to overheating. This product is supplied with an example bulb of energy efficiency class F. |
| Dimming | Details |
| DALI | Attachable to DALI systems with a separate DALI-compatible dimmer. Due to great variation in DALI systems, Secto Design does not supply DALI-dimmers. Please contact your local electrician. |
| Cable | 220 cm, textile cable, switch on the cable. Also available with direct wall mounting. |
| Classification | Ingress Protection IP20, IEC Protection Class II, CE marking |
| Installation | Available also as a direct wall mount version. Separate instructions on the website. |
| Maintenance | Wipe dust regularly. To remove fresh stains wipe with a slightly damp cloth. |

WARNING: To reduce the risk of strangulation the flexible wiring connected to this luminaire shall be effectively fixed to the wall if the wiring is within arm's reach.
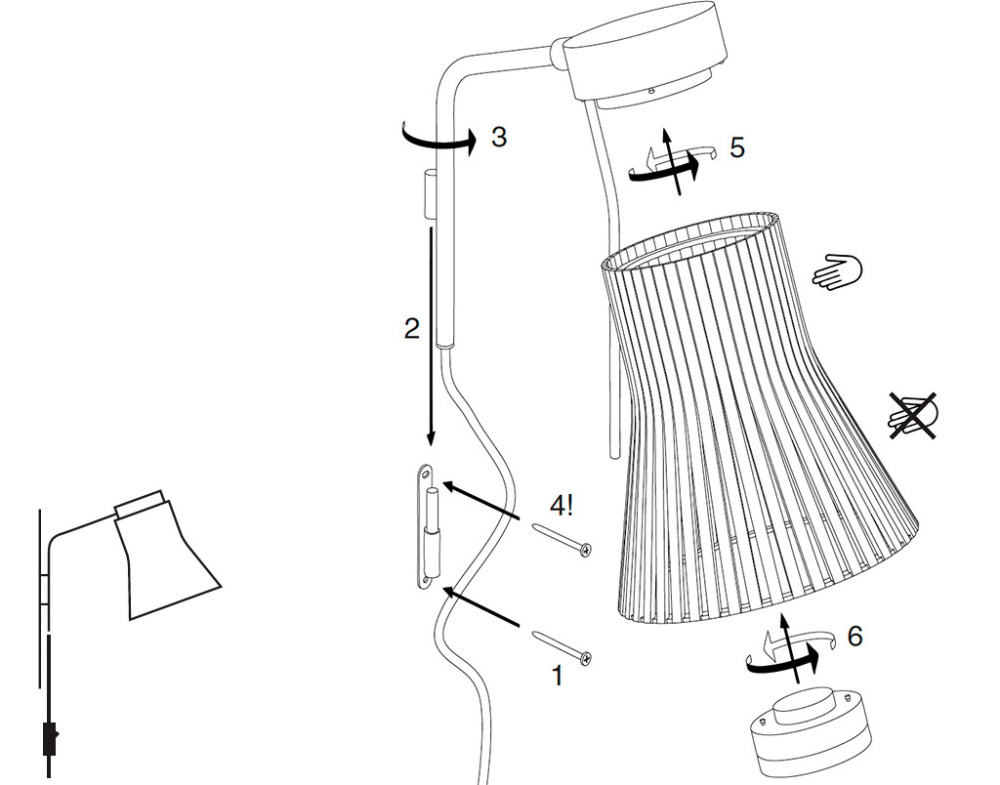
| Step 1 | Put the wall part in right place and place in the bottom screw. |
| Step 2 | Insert the lamp body into the wall part. |
| Step 3 | Turn the lamp body to face the wall and revealing the top screw hole. |
| Step 4 | Place in the top screw. |
| Step 5 | Place in the lamp shade by turning it clockwise. |
| Step 6 | Place in the LED bulb by turning it clockwise. |
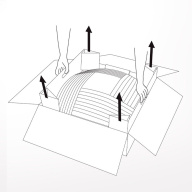
WARNING: Don't hold the lamp shade from the wide end, instead hold it from the narrow end.
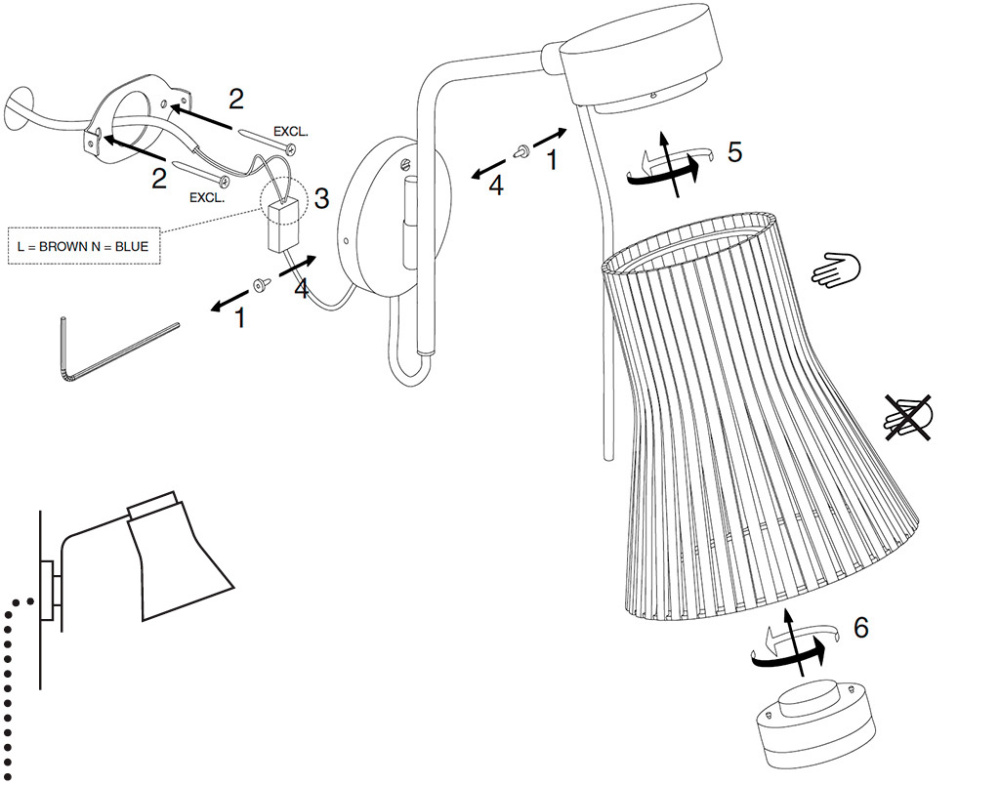
| Step 1 | Remove the lock screws. |
| Step 2 | Put the wall part in right place and screw tight both of the screws. |
| Step 3 | Connect the wires: L=brown, N=blue. |
| Step 4 | Place in the lock screws. |
| Step 5 | Place in the lamp shade by turning it clockwise. |
| Step 6 | Place in the LED bulb by turning it clockwise. |
WARNING: Don't hold the lamp shade from the wide end, instead hold it from the narrow end.
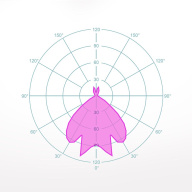
Light distribution curve of Petite 4630. Polar curve of the angular luminous intensity distribution at two perpendicular C planes and at C plane with maximum luminous intensity.


Loading form