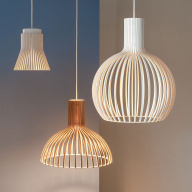
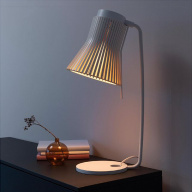
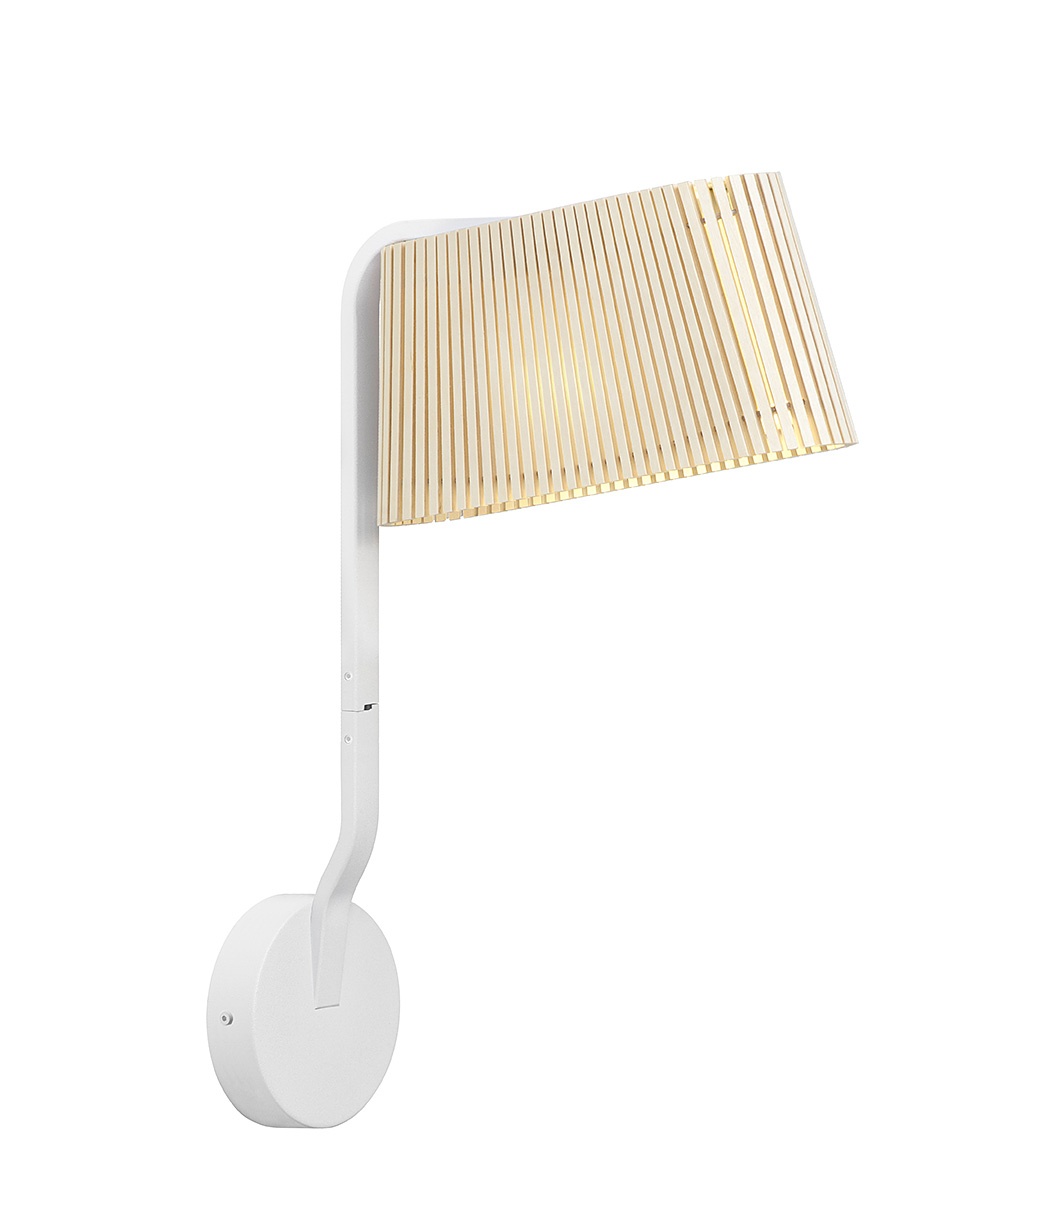
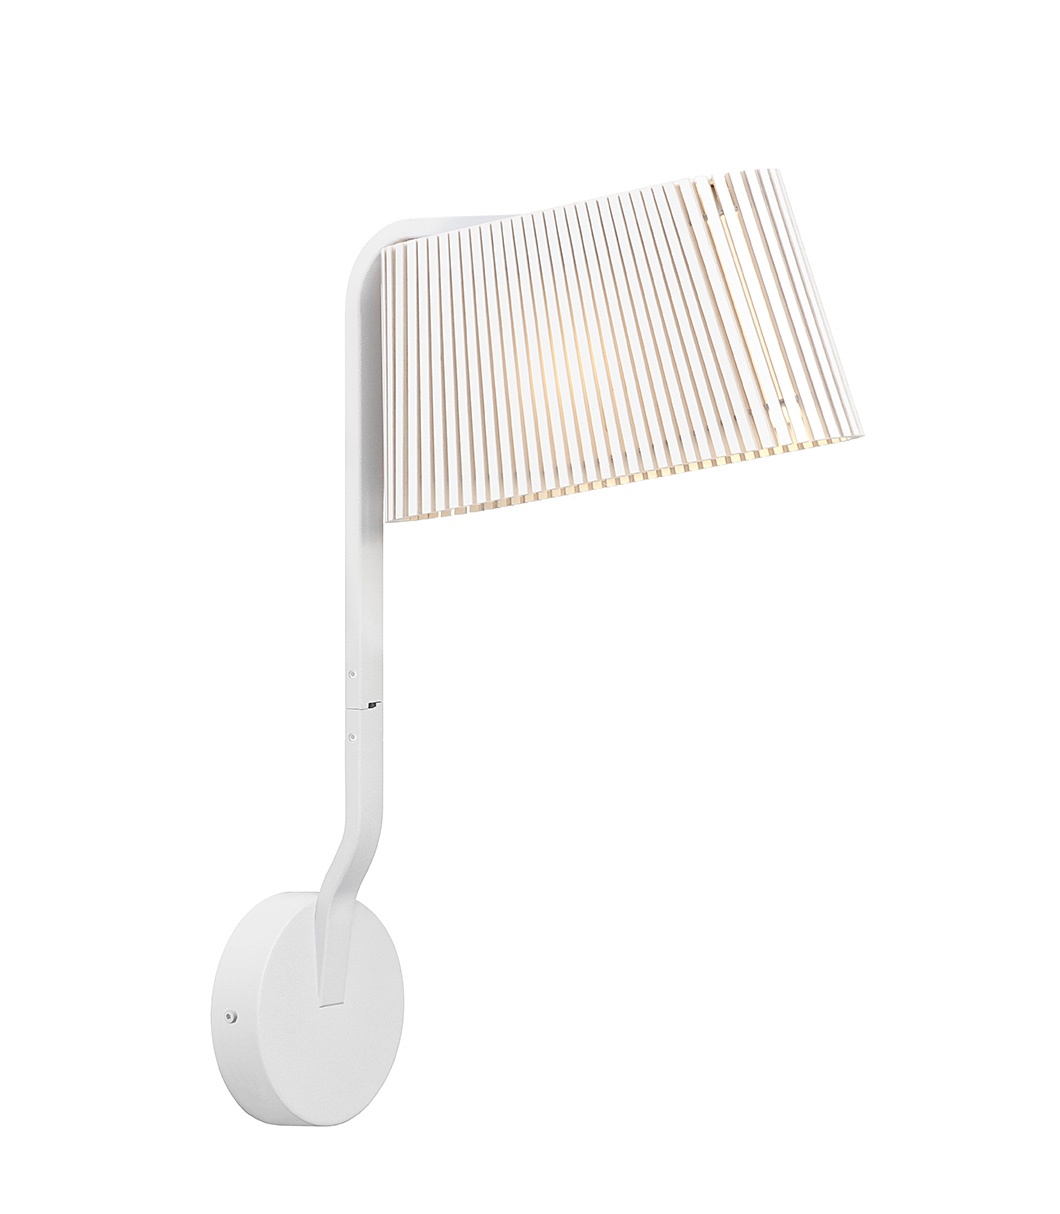
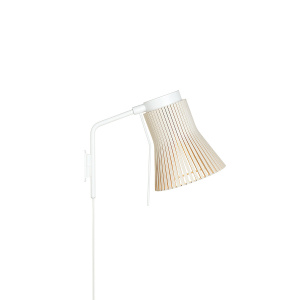
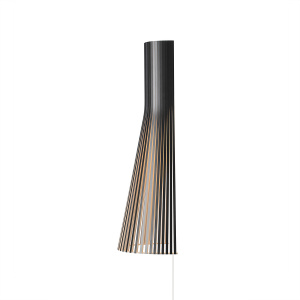
Owalo 7030 wall lamp:
Reading light
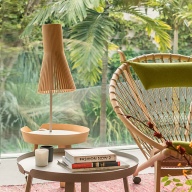
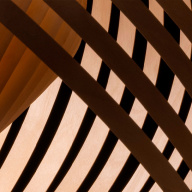
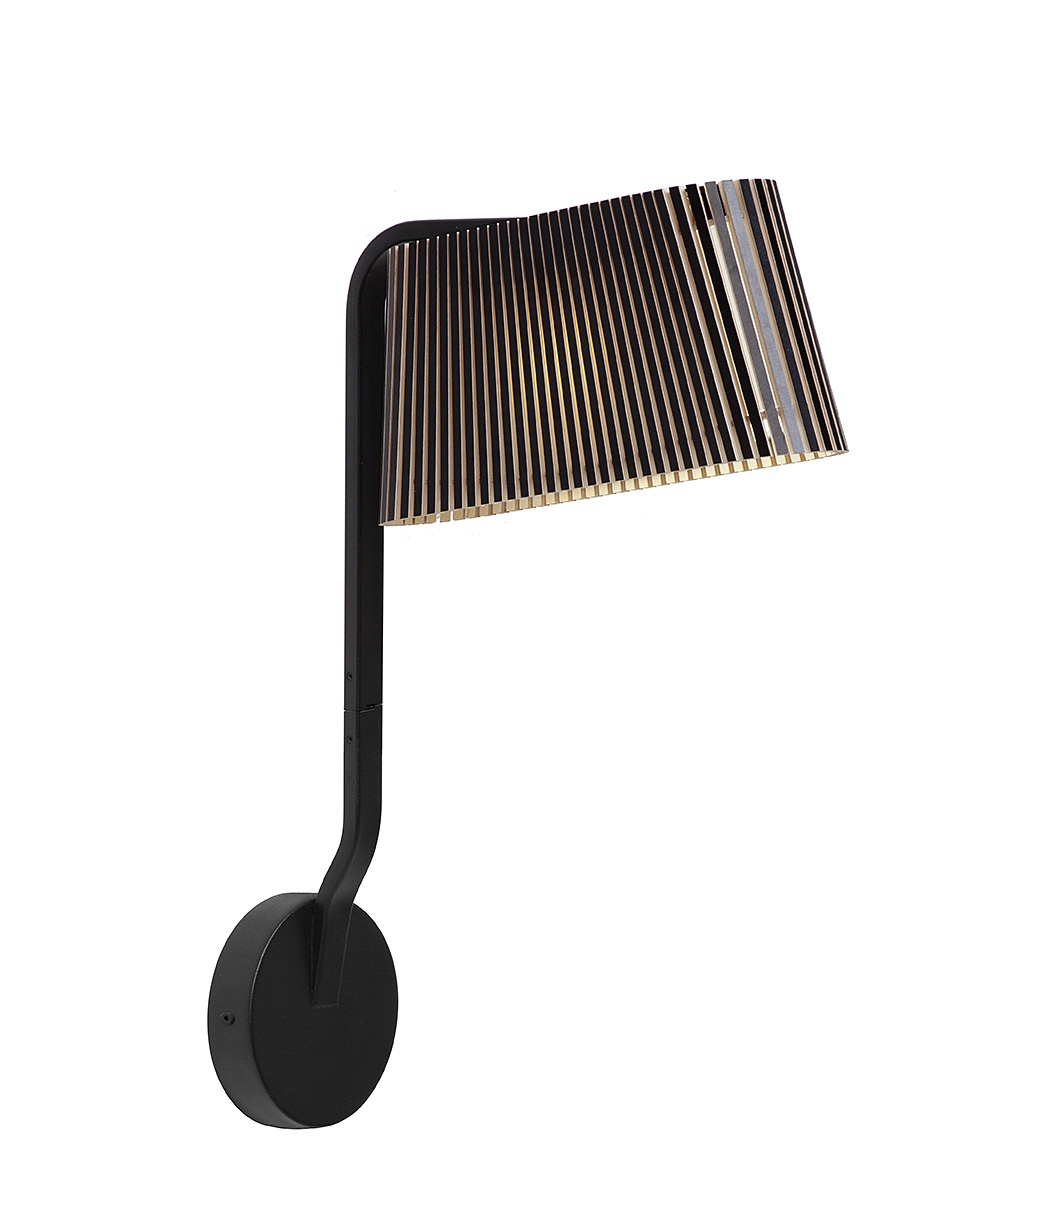
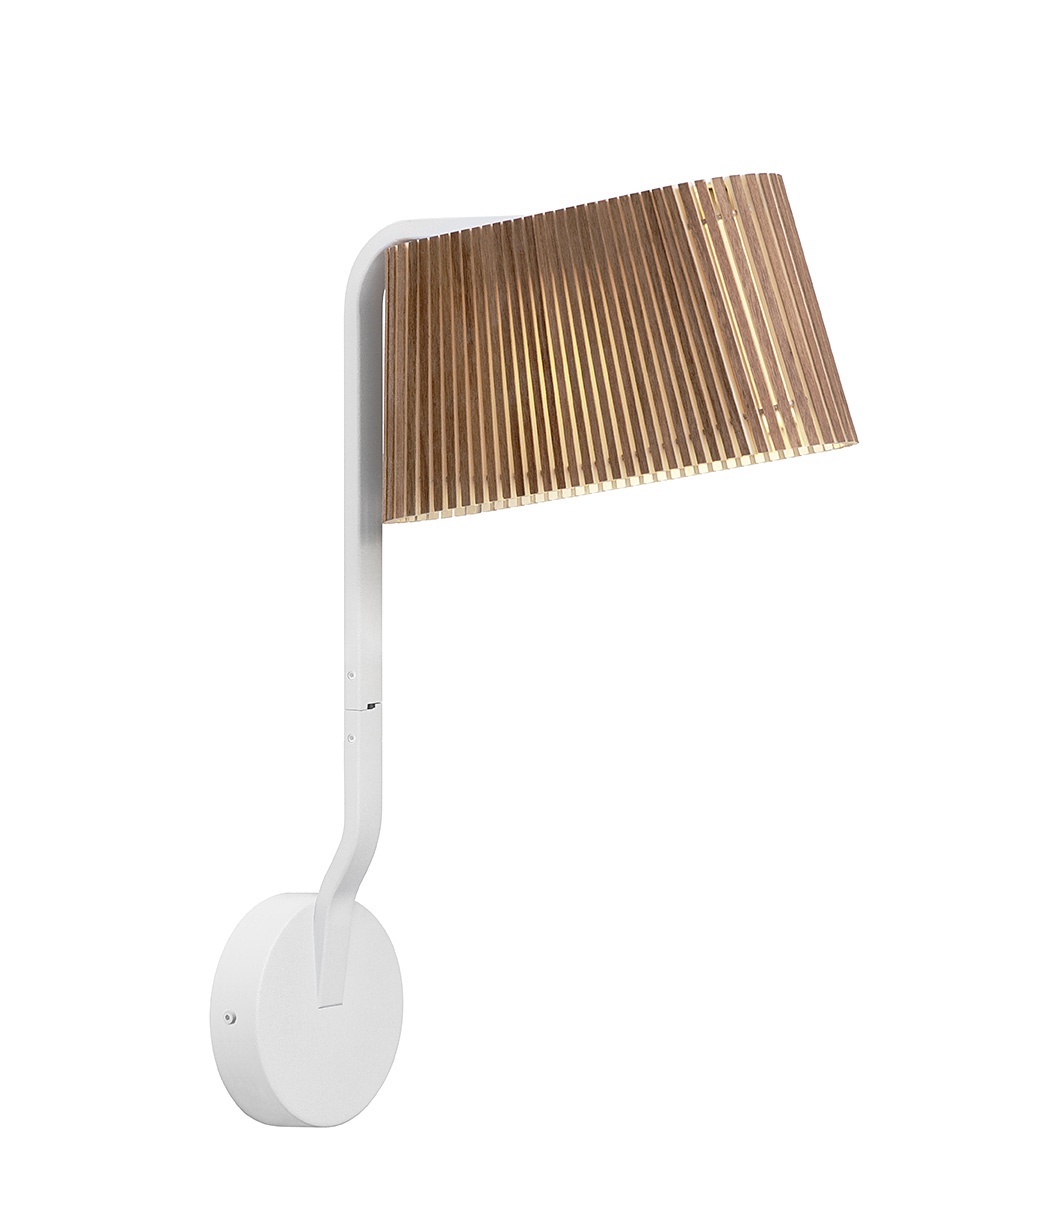
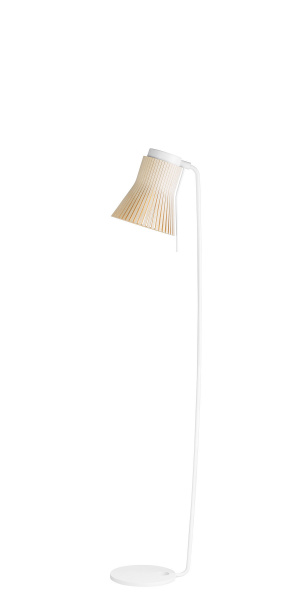
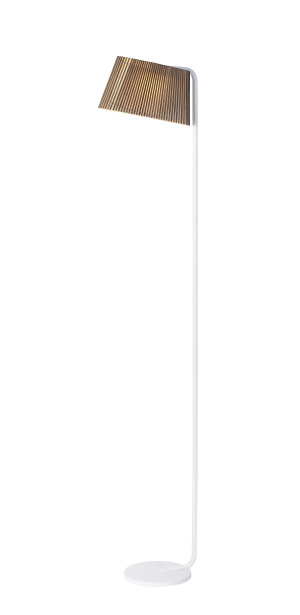
The Owalo 7030 is a turning wall light that gently follows your every illumination need. Commonly used as a reading light by the bed. Designed by architect Seppo Koho, launched in 2011.
The Owalo 7030 is a turning wall light that gently follows your every illumination need. Commonly used as a reading light by the bed. Designed by architect Seppo Koho, launched in 2011.
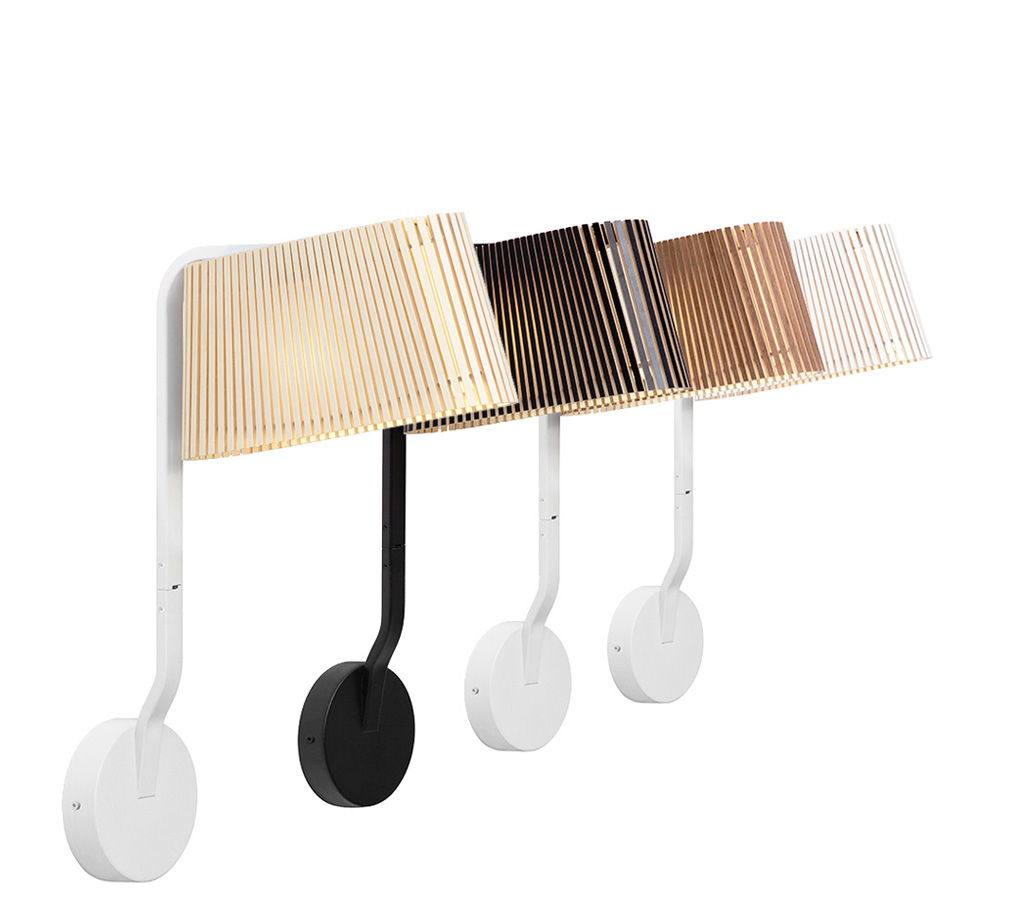
Colour:
Get it here!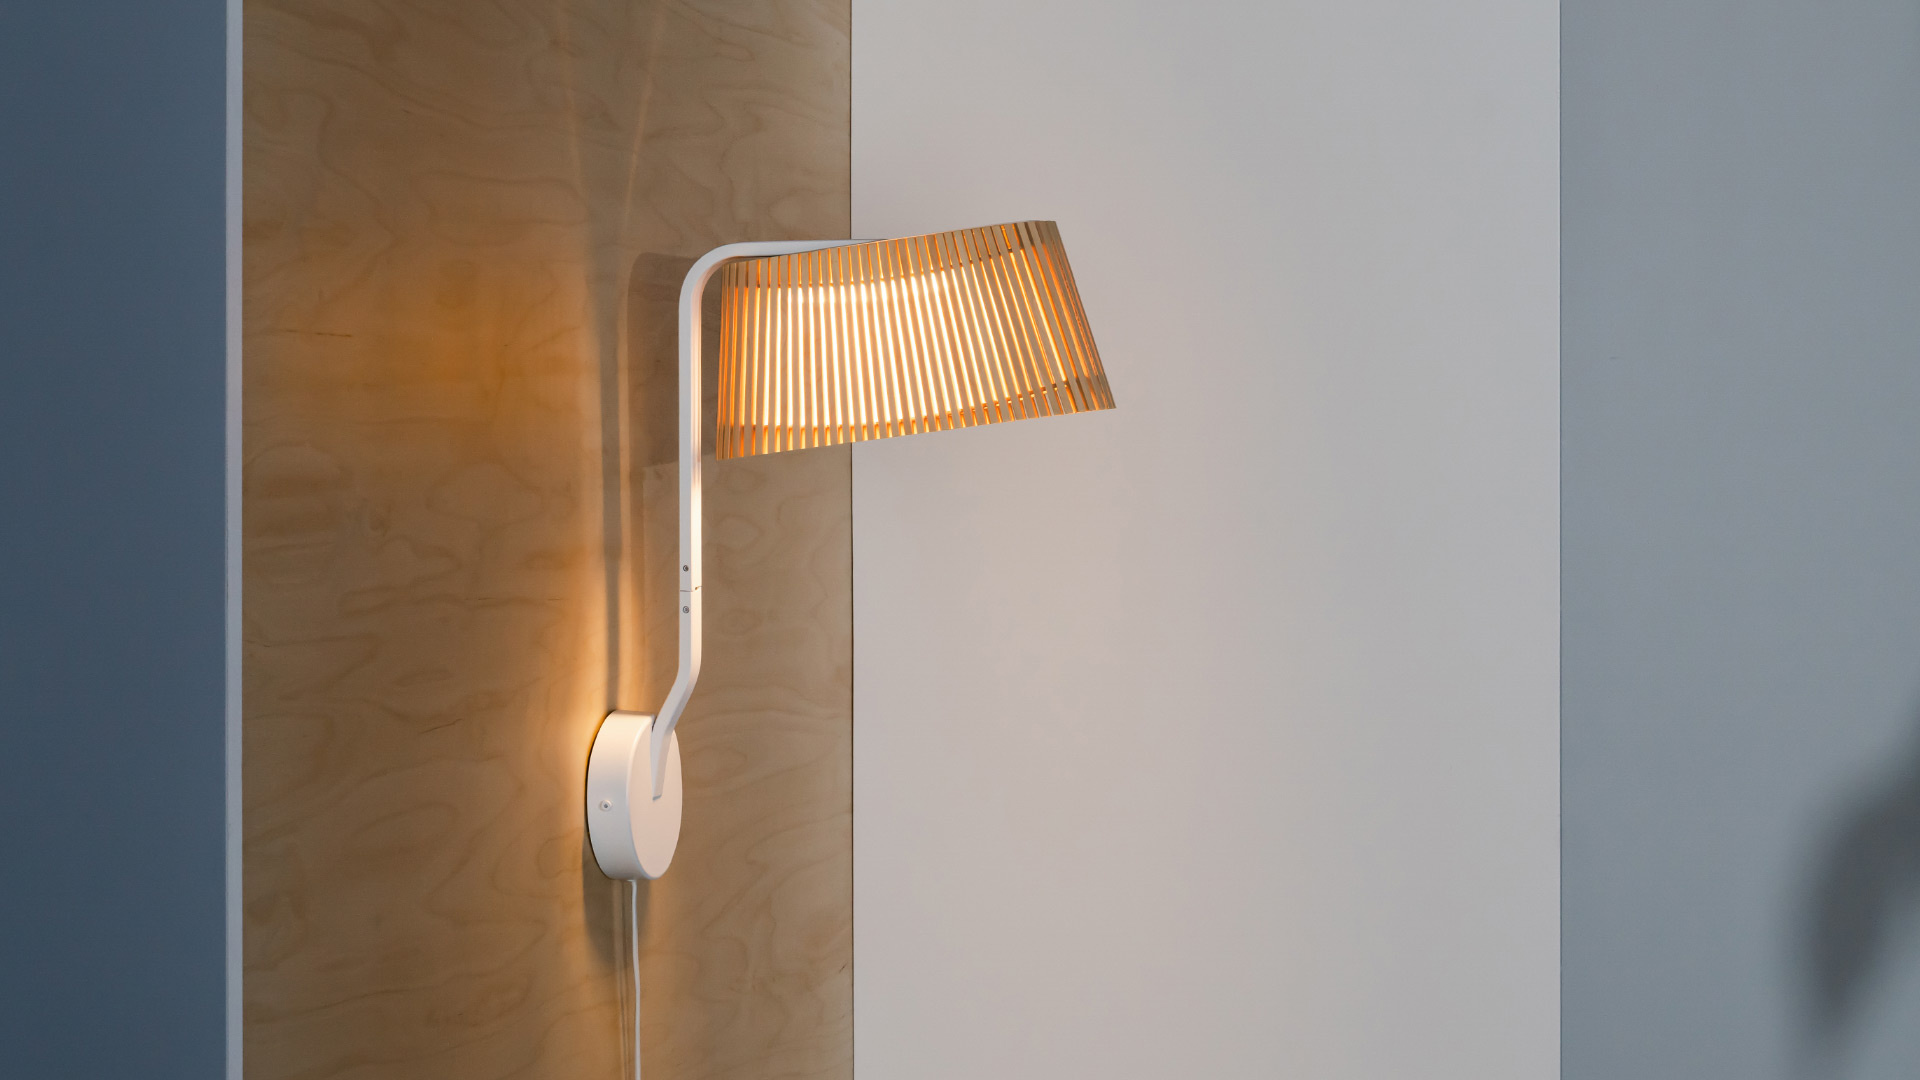
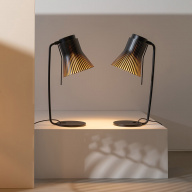
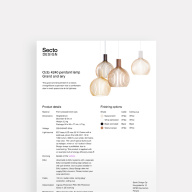
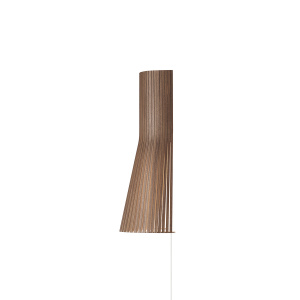
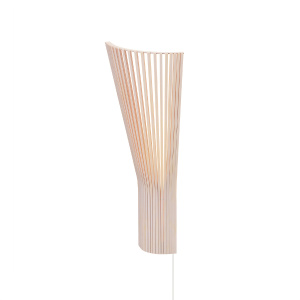
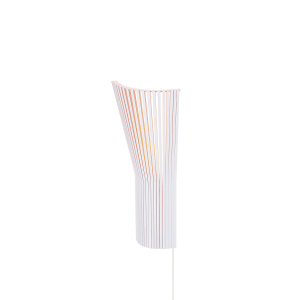
Owalo 7030 wall lamp
Owalo 7030 wall lamp
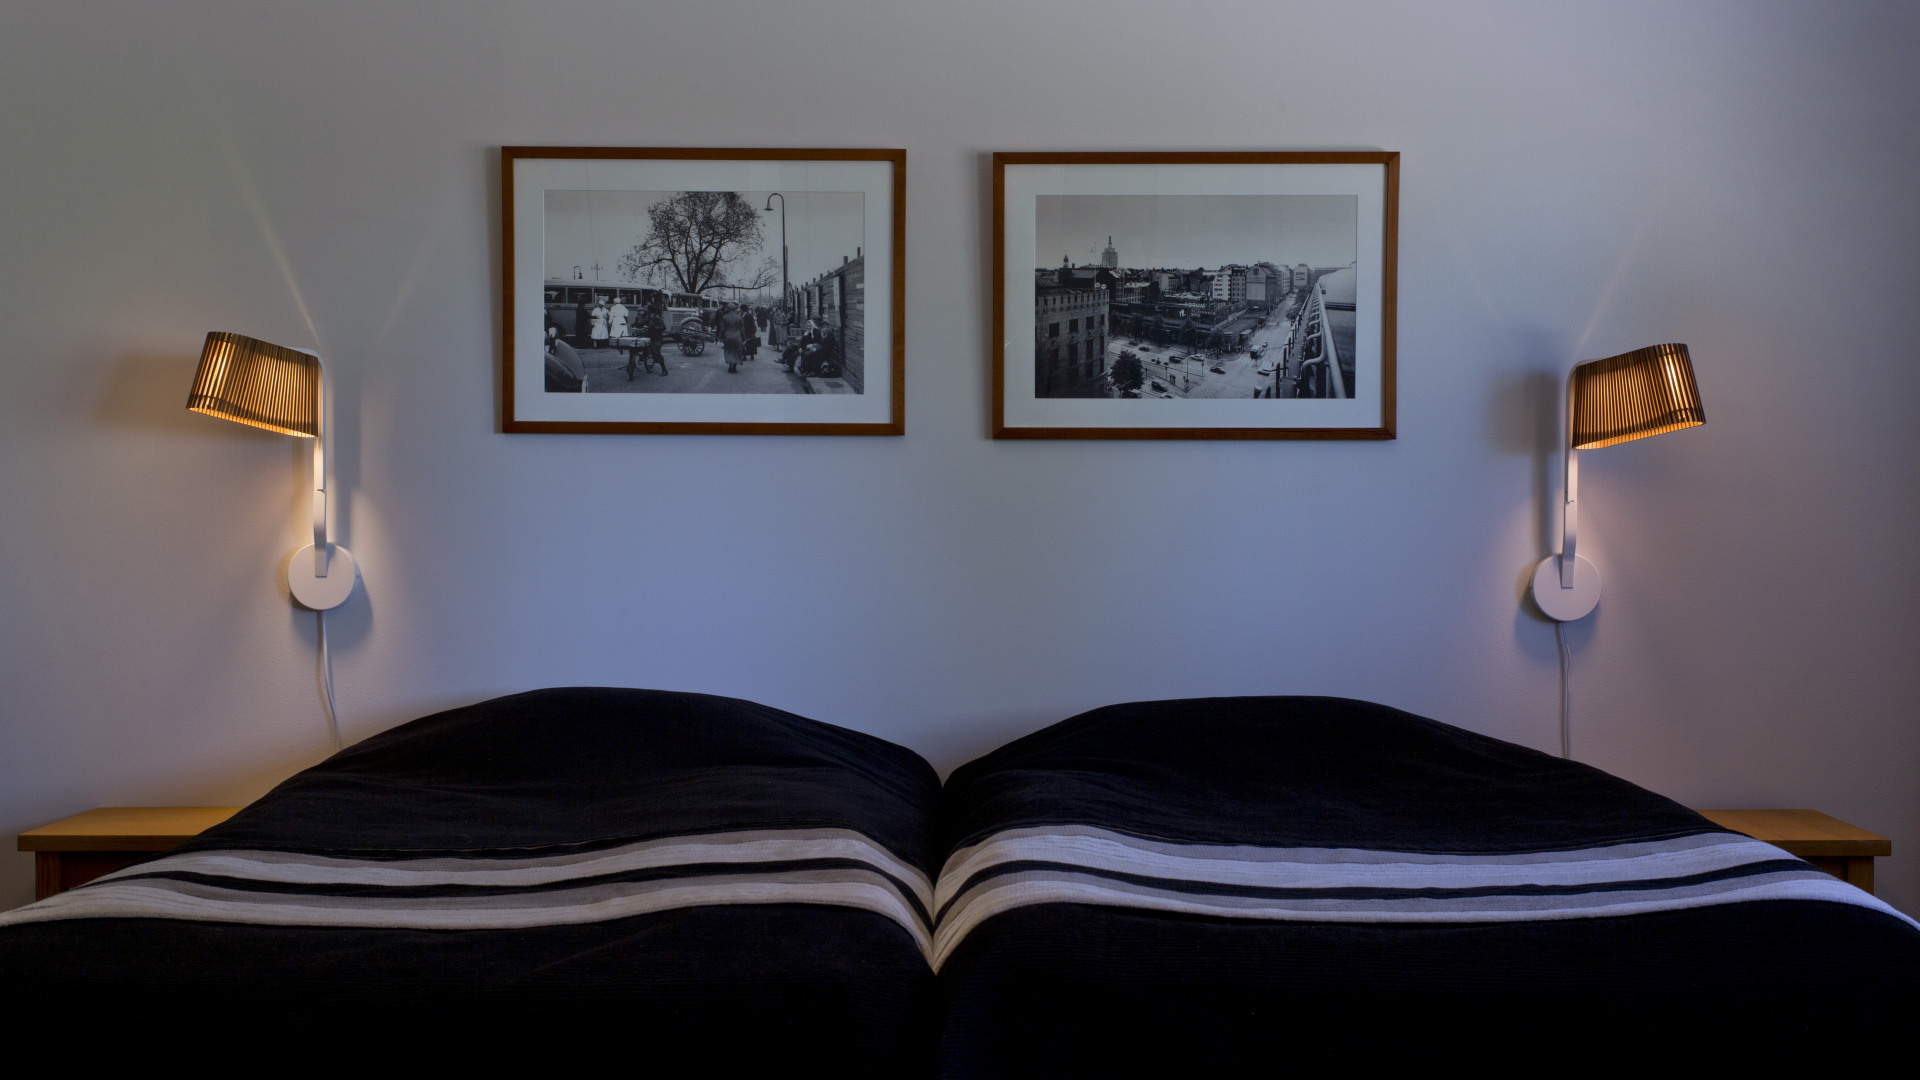
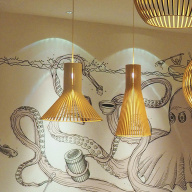
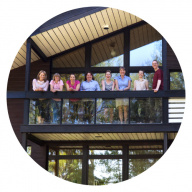
Owalo 7030. Private Residence. Heinola, Finland. Photo by Uzi Varon.
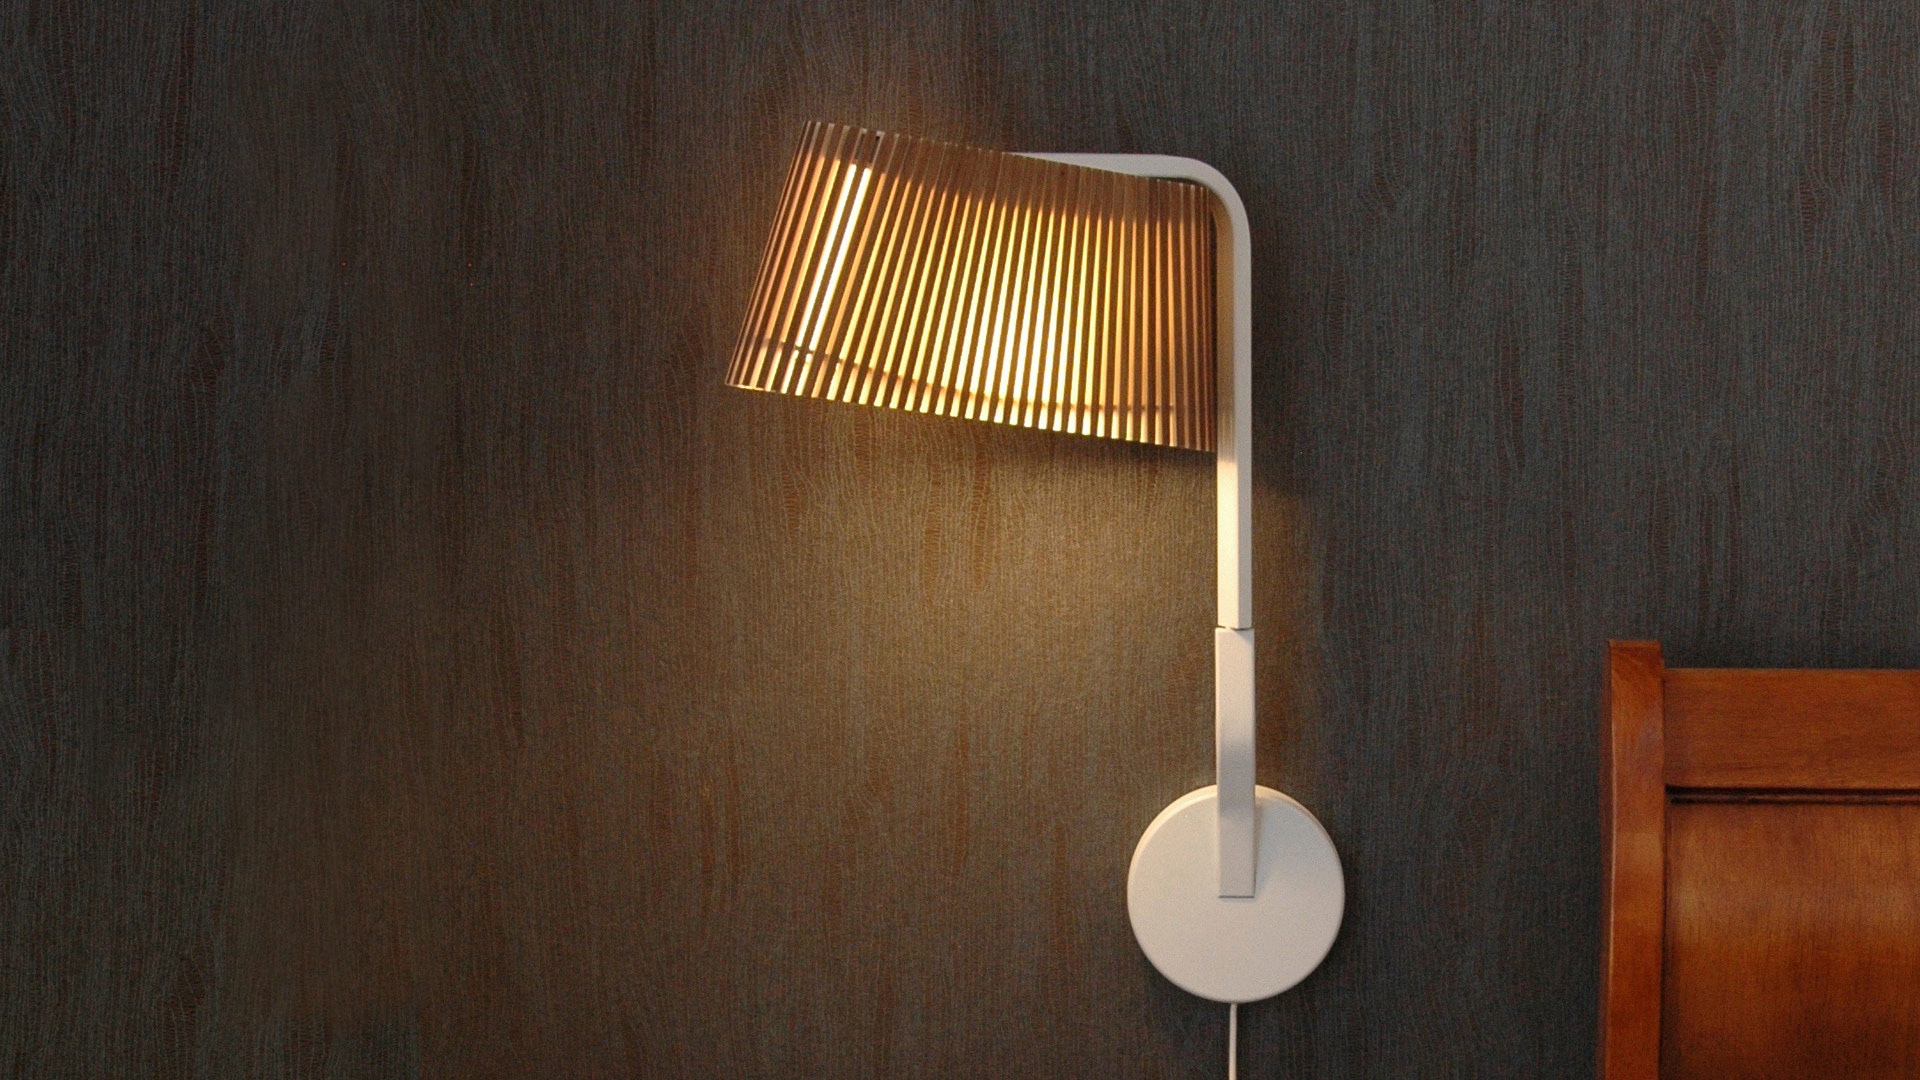
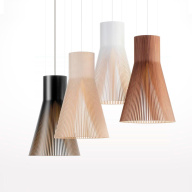
Owalo 7030. Private Residence, Turku, Finland. Photo by Markku Vuorimaa
More images of the Owalo 7030 wall lamp here

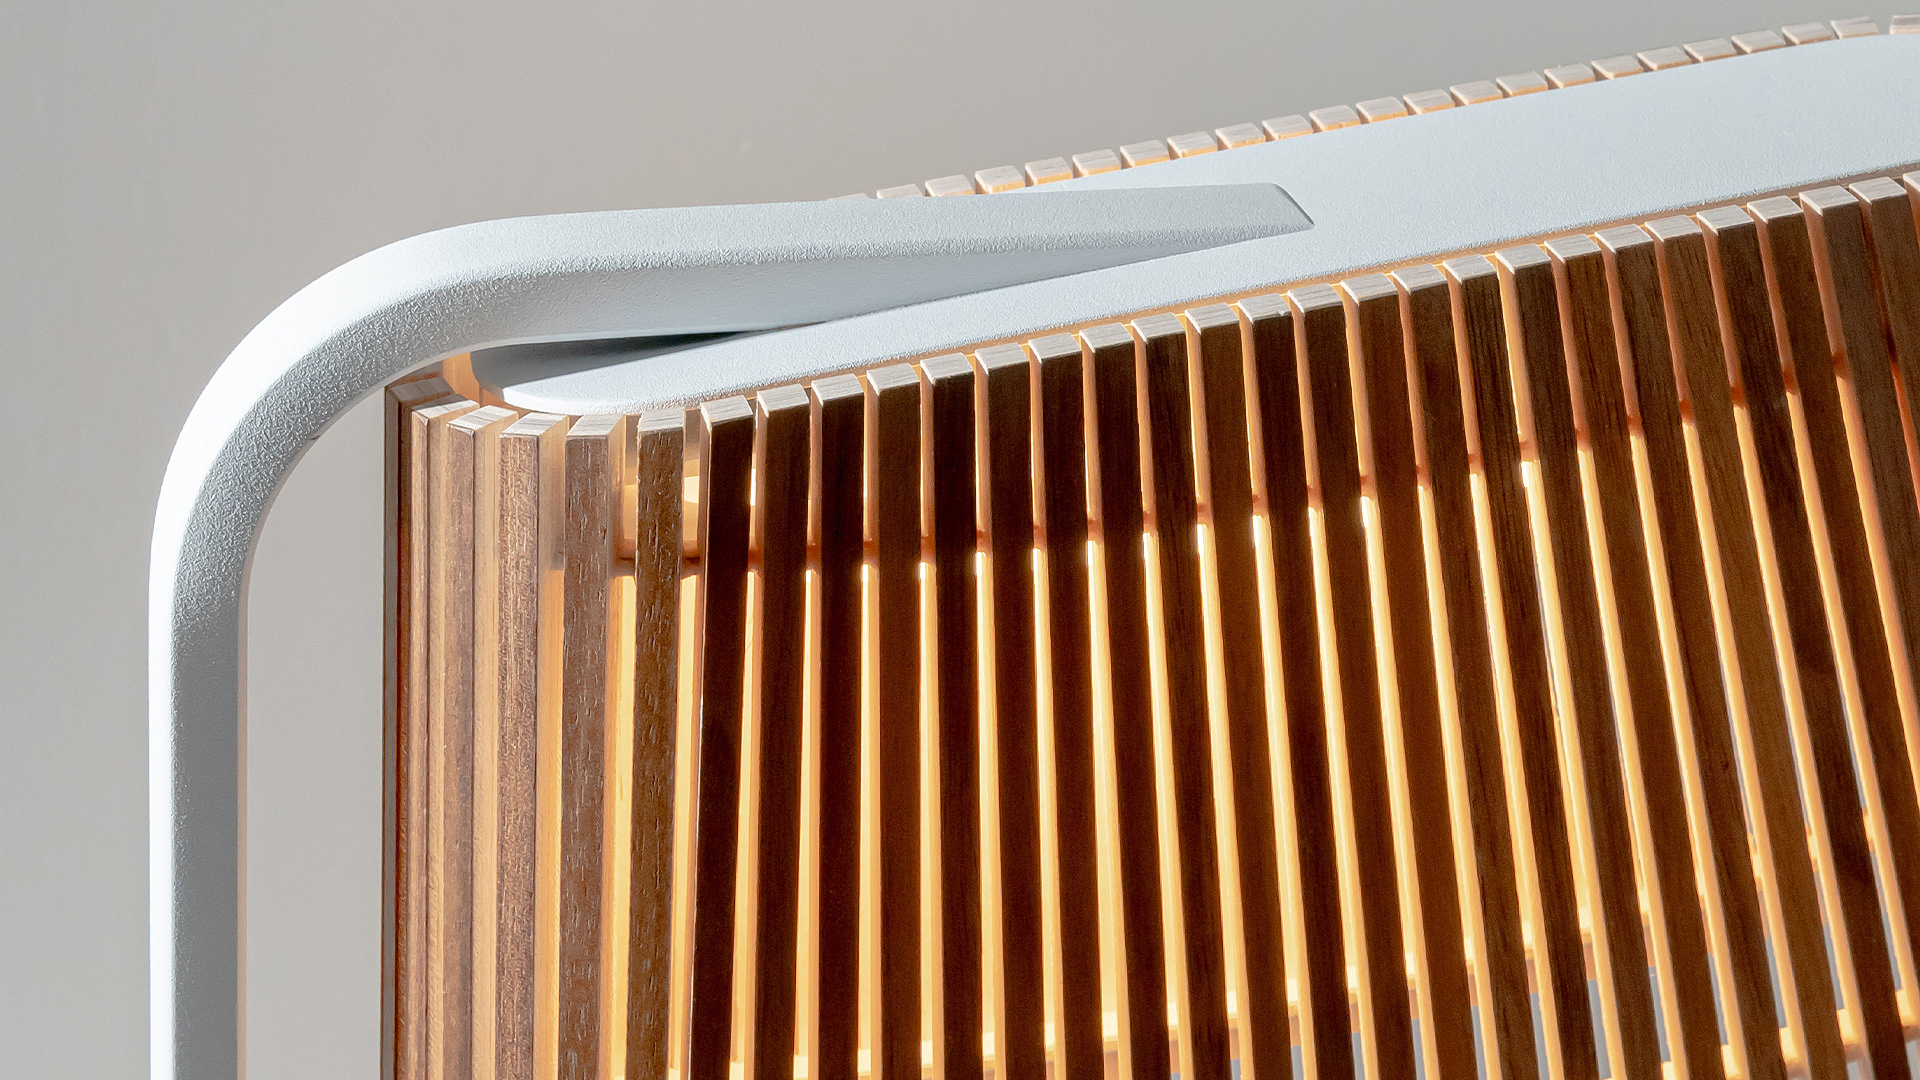
Handmade from PEFC-certified form-pressed birch in Finland by highly skilled craftspeople. Comes with the latest LED-technology.
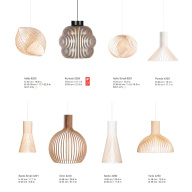
| Shade | Arm | Cable |
| Natural birch | White | White |
| White laminated | White | White |
| Black laminated | Black | Black |
| Walnut veneer | White | White |
| Material | Form-pressed birch slats, fine textured powder coated steel arm, acrylic diffuser |
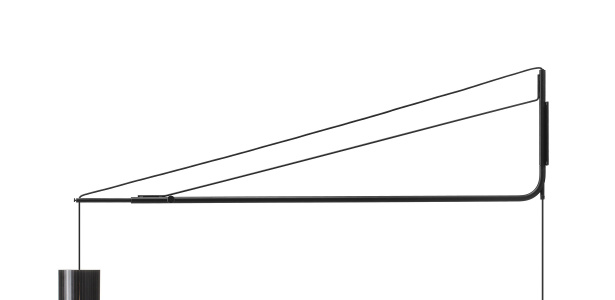
| Dimensions | Height 47 cm Depth 33 cm Width 7 cm Base Ø 11,5 cm Weight 1,4 kg Package 56 × 40 × 16 cm, 2,5 kg |
| Voltage | 100-240 VAC 50/60 Hz |
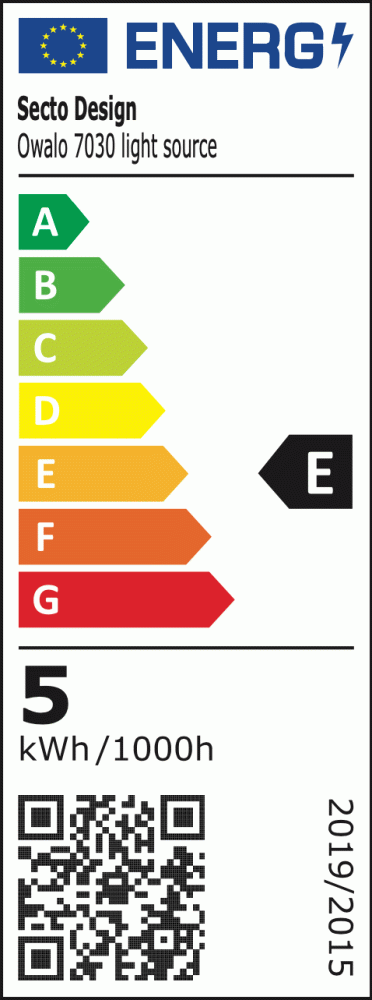
| Light source | A built-in LED, 6 W, 3000 K, 770 lm, CRI >80. This product contains a light source of energy efficiency class E. |
| Dimming | Non-dimmable |
| Cable | 230 cm, textile cable, switch on the cable. Also available with direct wall mounting. |
| Classification | Ingress Protection IP20, IEC Protection Class II, CE marking |
| Installation | Separate instructions on the website. |
| Maintenance | Wipe dust regularly. To remove fresh stains wipe with a slightly damp cloth. |
WARNING: The cable and the built-in LEDs can only be replaced by the manufacturer.
WARNING: To reduce the risk of strangulation the flexible wiring connected to this luminaire shall be effectively fixed to the wall if the wiring is within arm's reach.

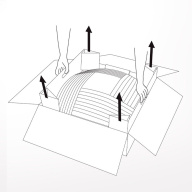
| Step 1 | Lift up the lamp body from the package by holding it from the sheltering structure around it. |
| Step 2 | Remove the top sheltering element and the bottom part of the package. |
| Step 3 | Plug in the lamp cord. |
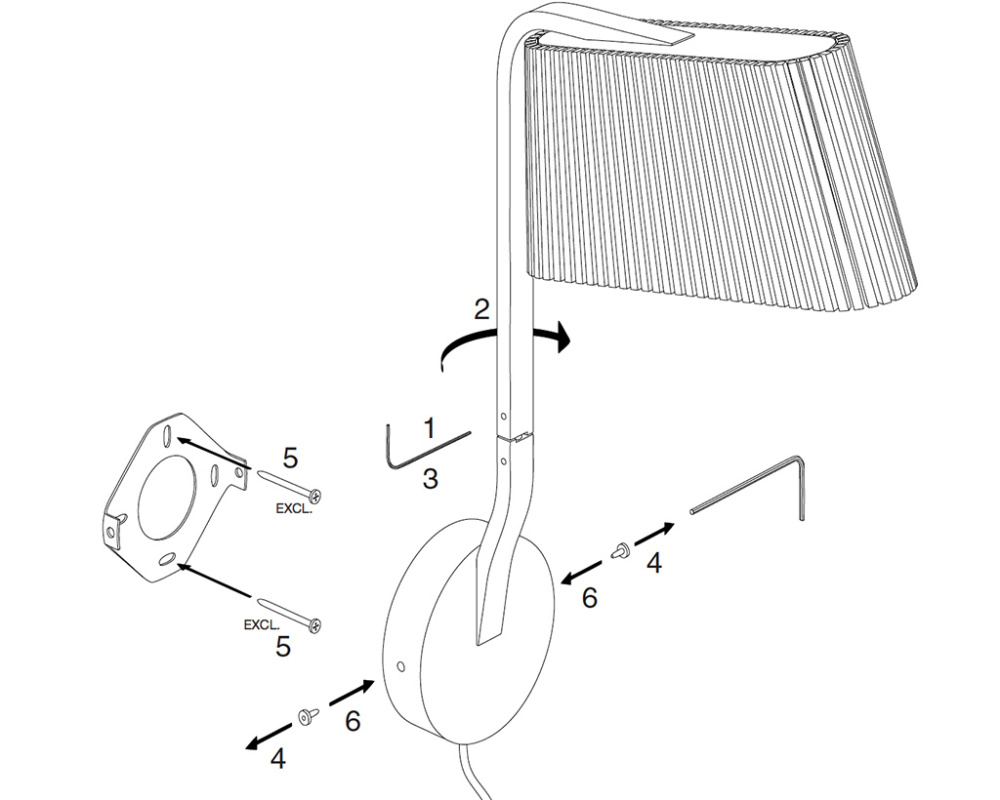
| Step 1 | Loosen the small lock screws. |
| Step 2 | Turn the lamp shade to its final position. |
| Step 3 | Tighten the small lock screws. |
| Step 4 | Remove the big lock screws. |
| Step 5 | Put the wall part in right place and screw tight both of the screws. |
| Step 6 | Place in the big lock screws. |
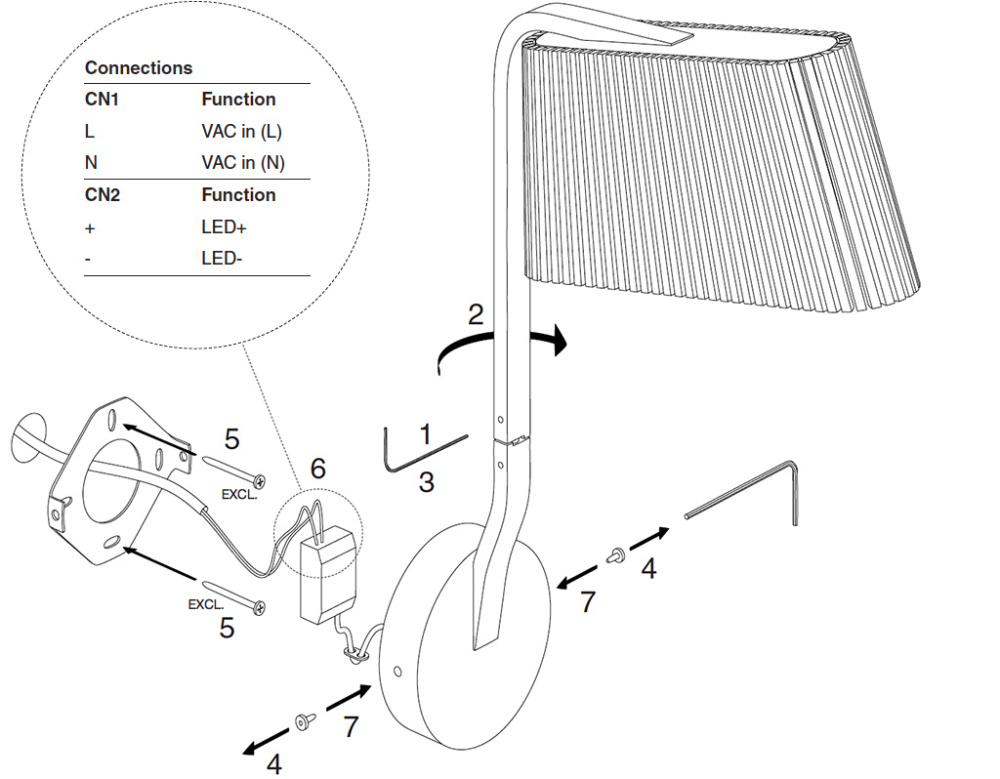
| Step 1 | Loosen the small lock screws. |
| Step 2 | Turn the lamp shade to its final position. |
| Step 3 | Tighten the small lock screws. |
| Step 4 | Remove the big lock screws. |
| Step 5 | Put the wall part in right place and screw tight both of the screws. |
| Step 6 | Connect the wires: L=brown, N=blue. |
| Step 7 | Place in the big lock screws. |
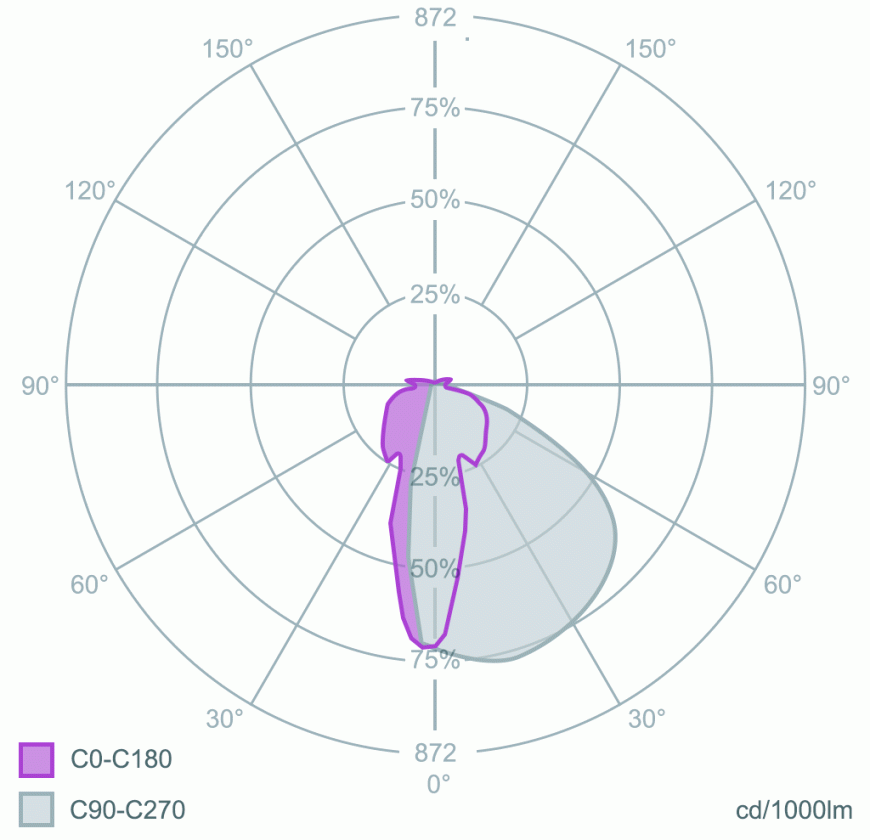
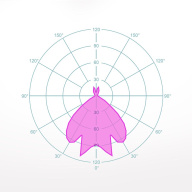
Light distribution curve of Owalo 7030. Polar curve of the angular Luminous Intesity distribution at two perpendicular C planes.
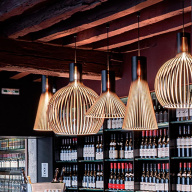
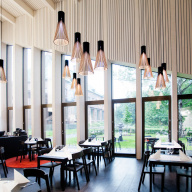
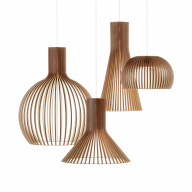
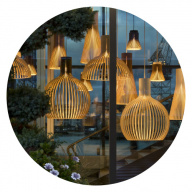
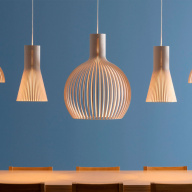
See how our lamps look together in different arrangements and create your own eye-catching installation tailored to your interior.


Loading form