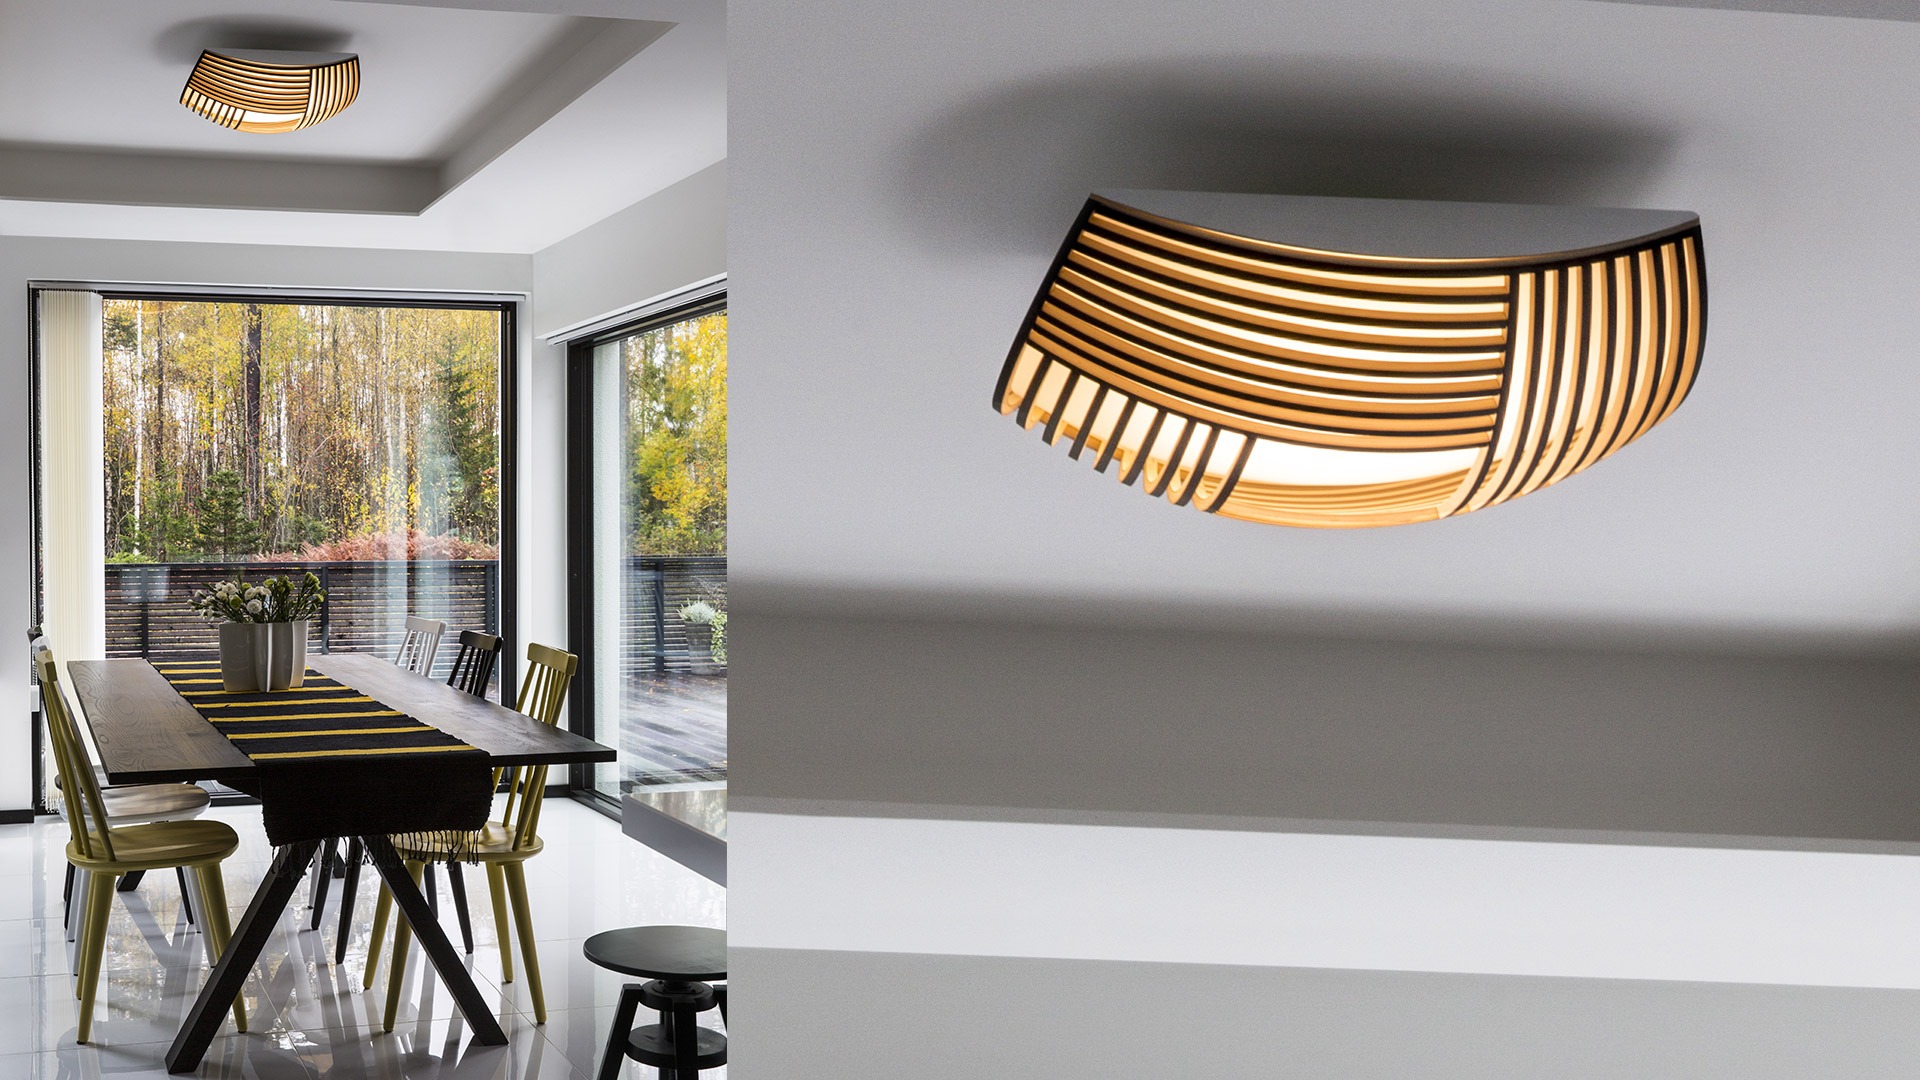
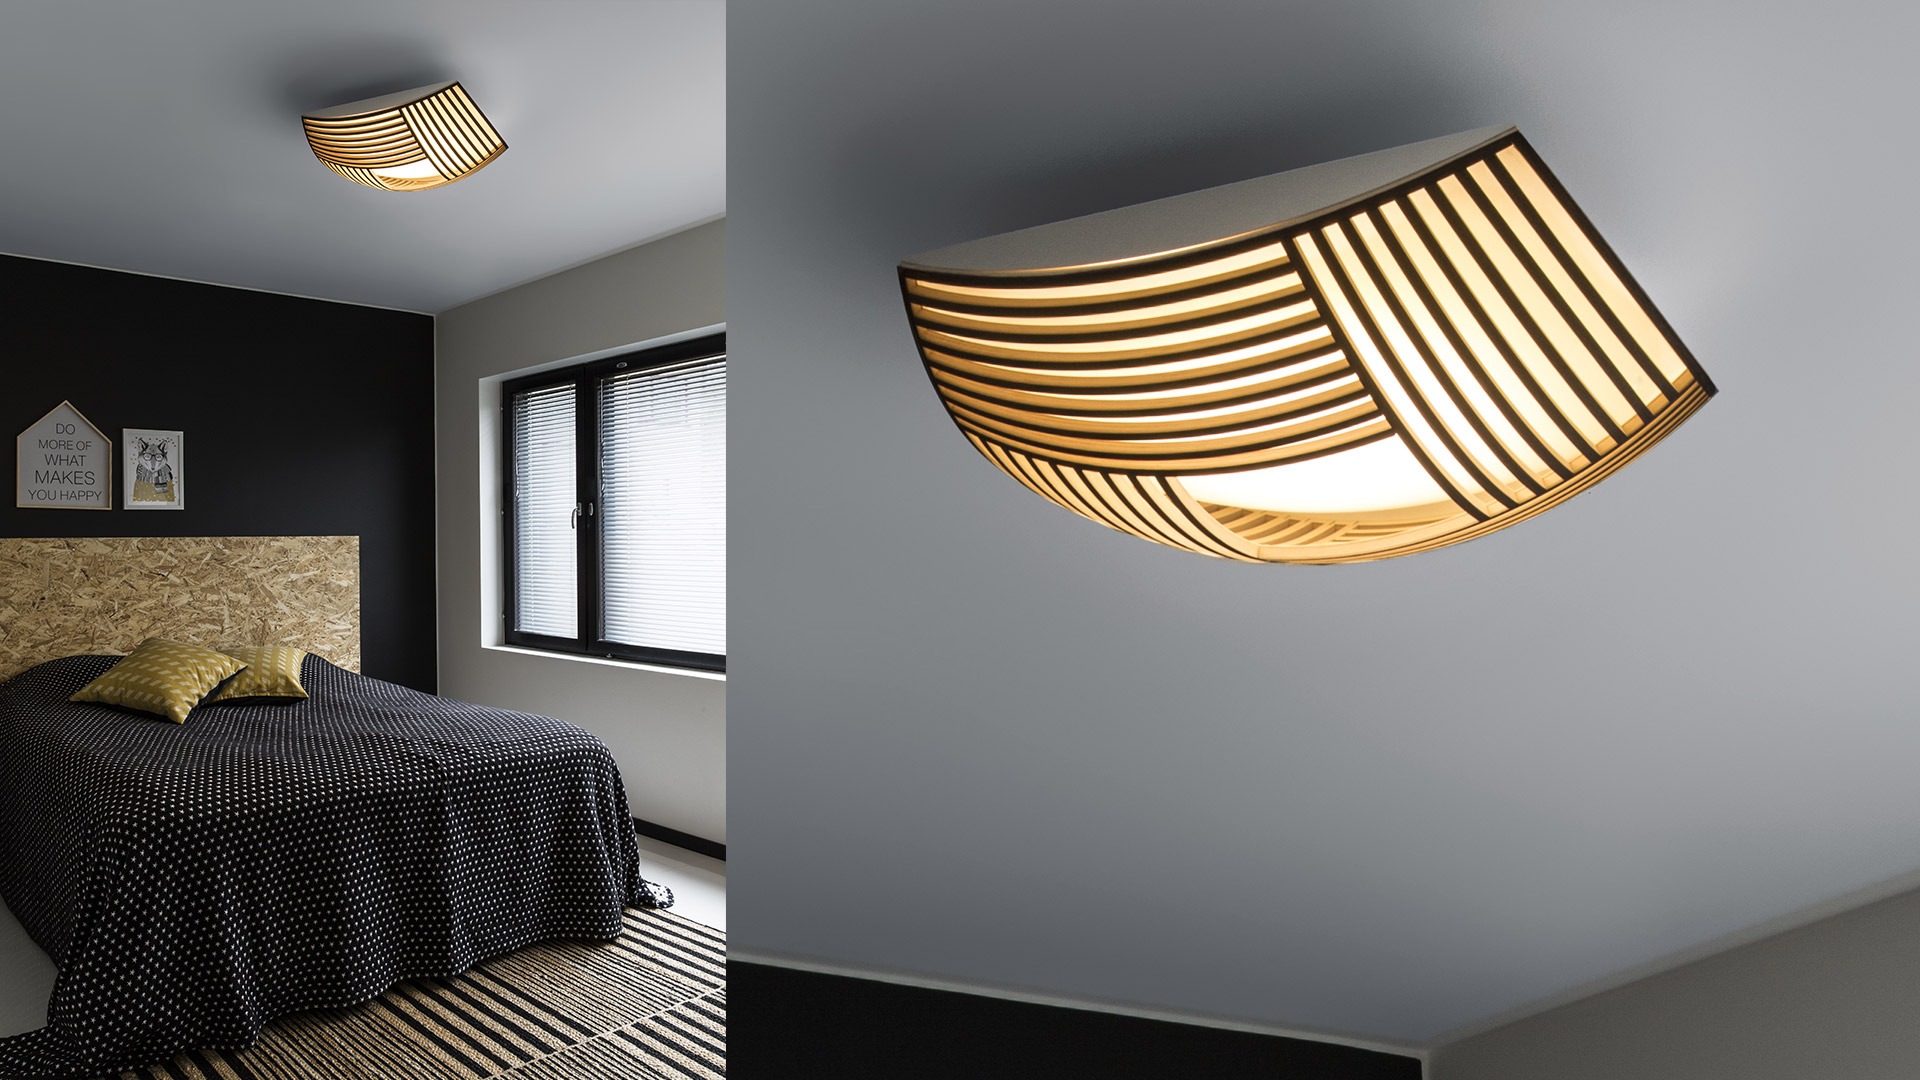
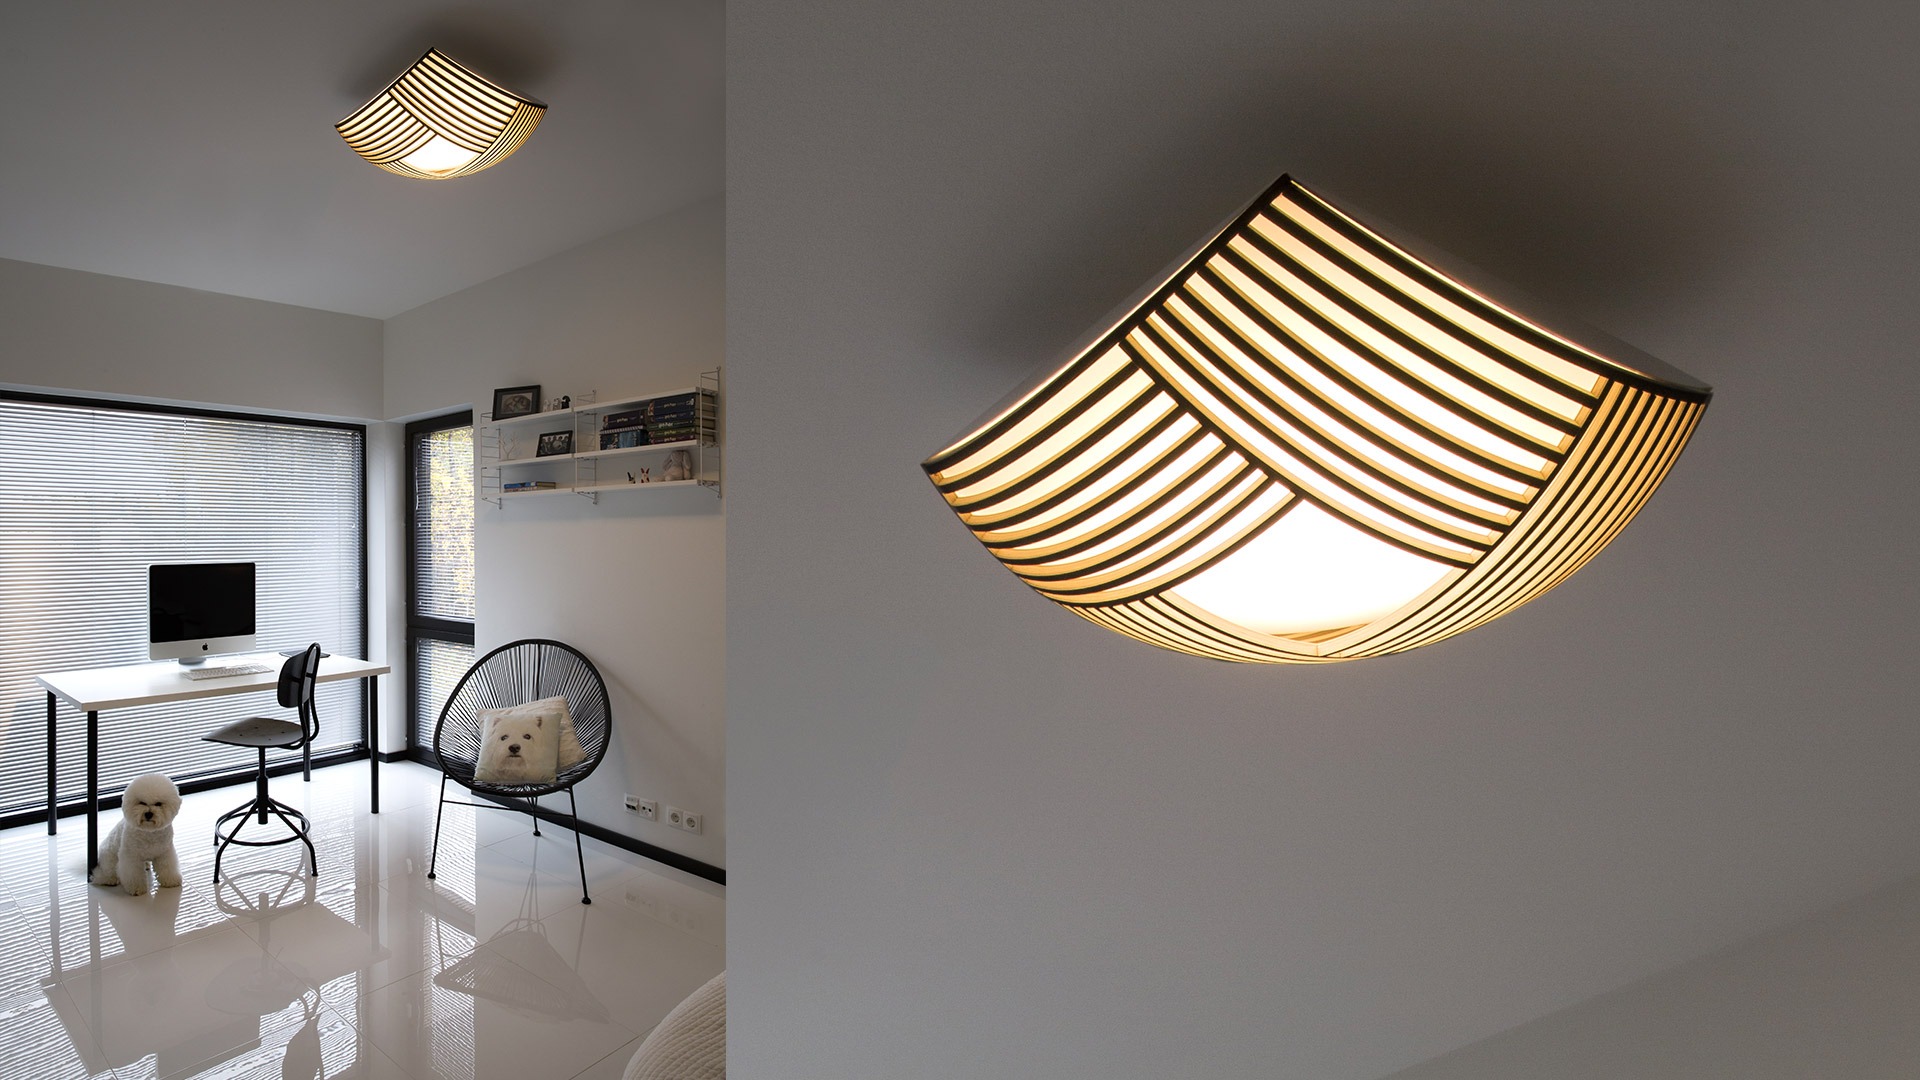
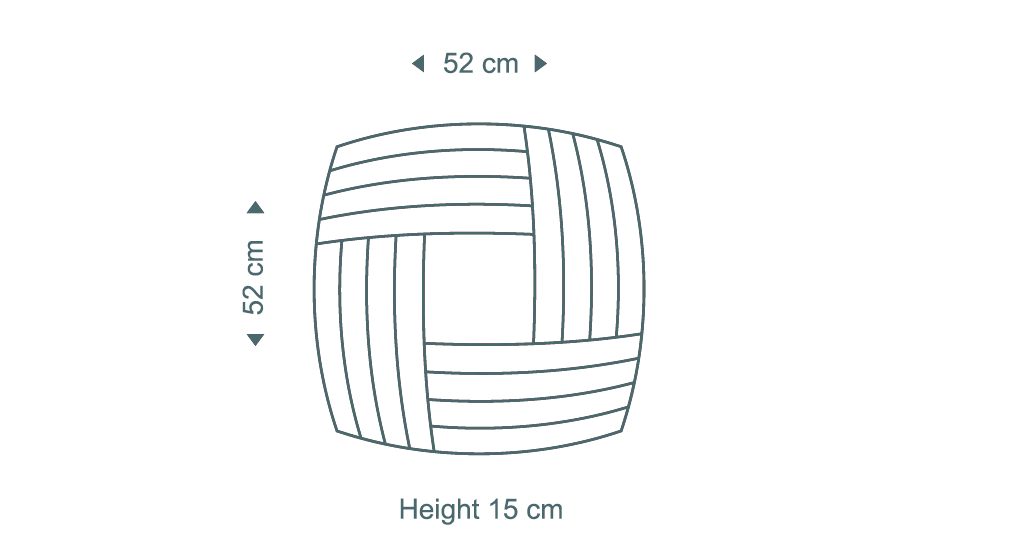
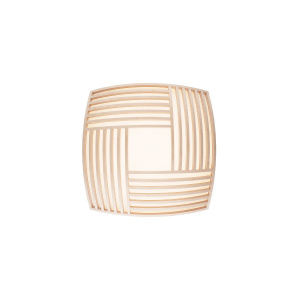
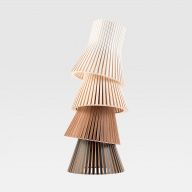
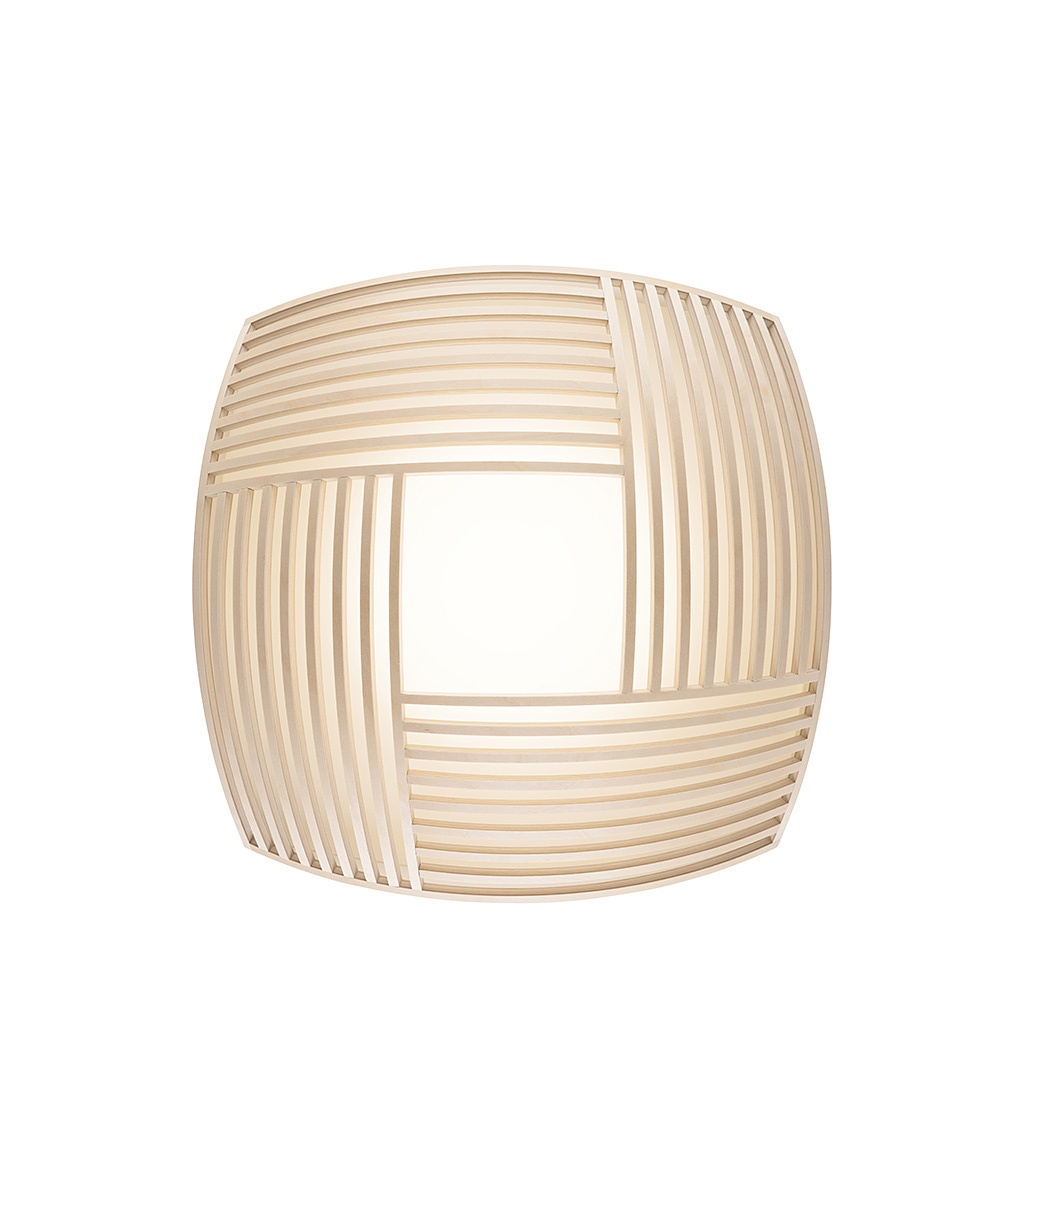
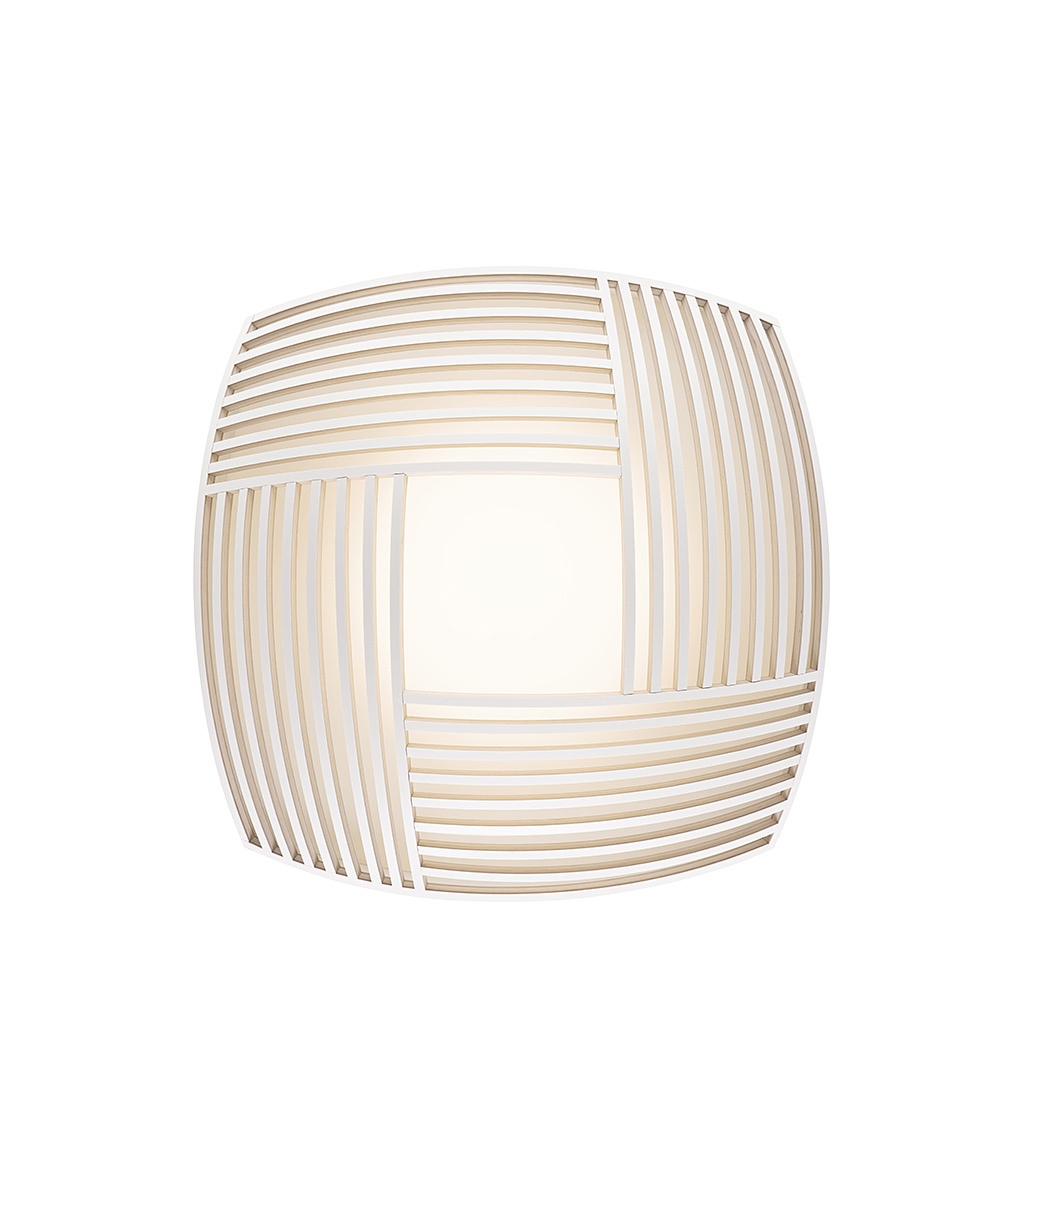
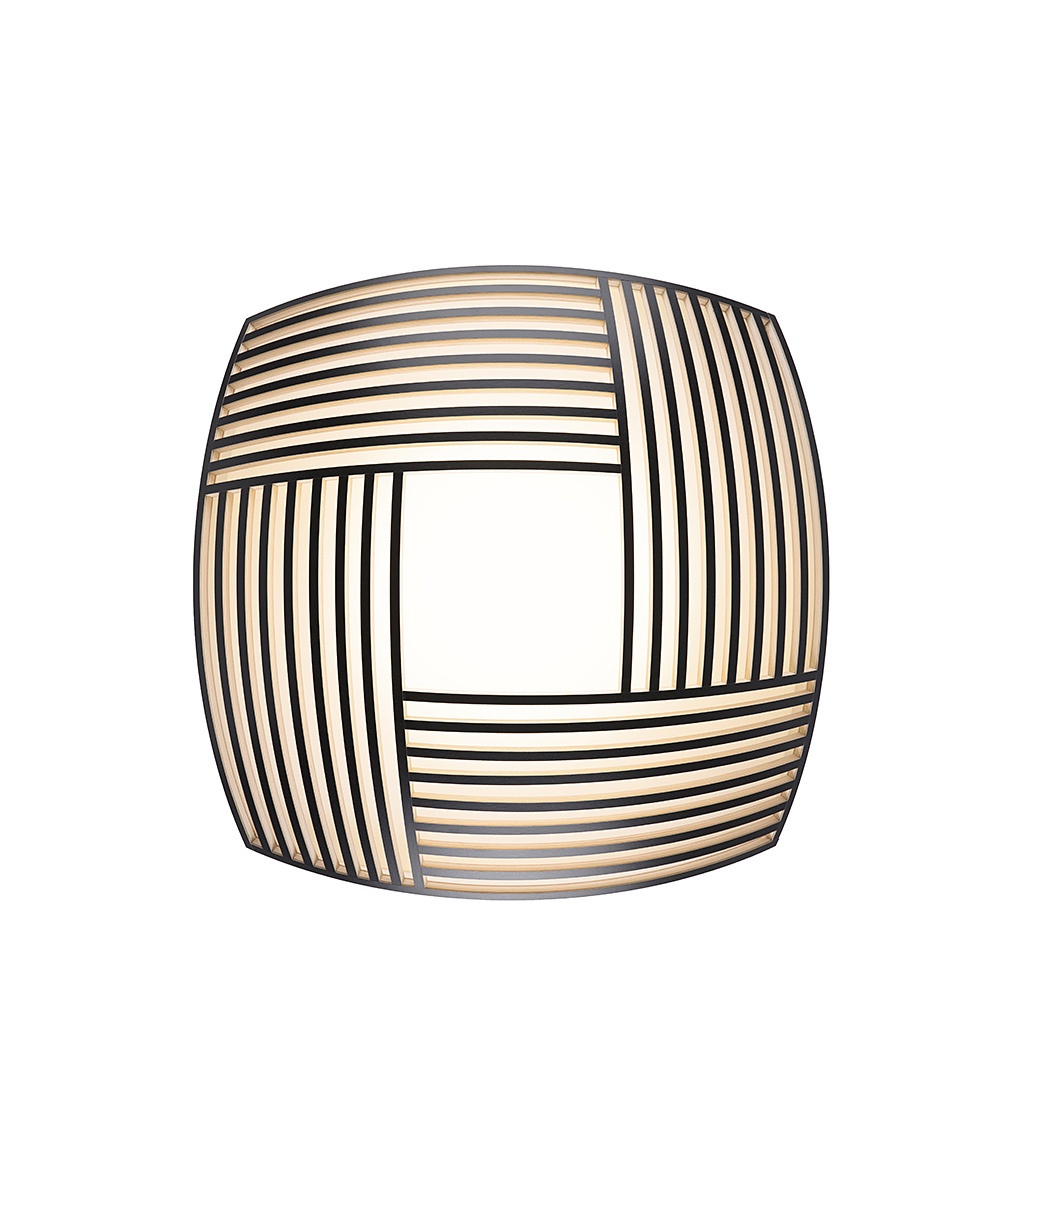
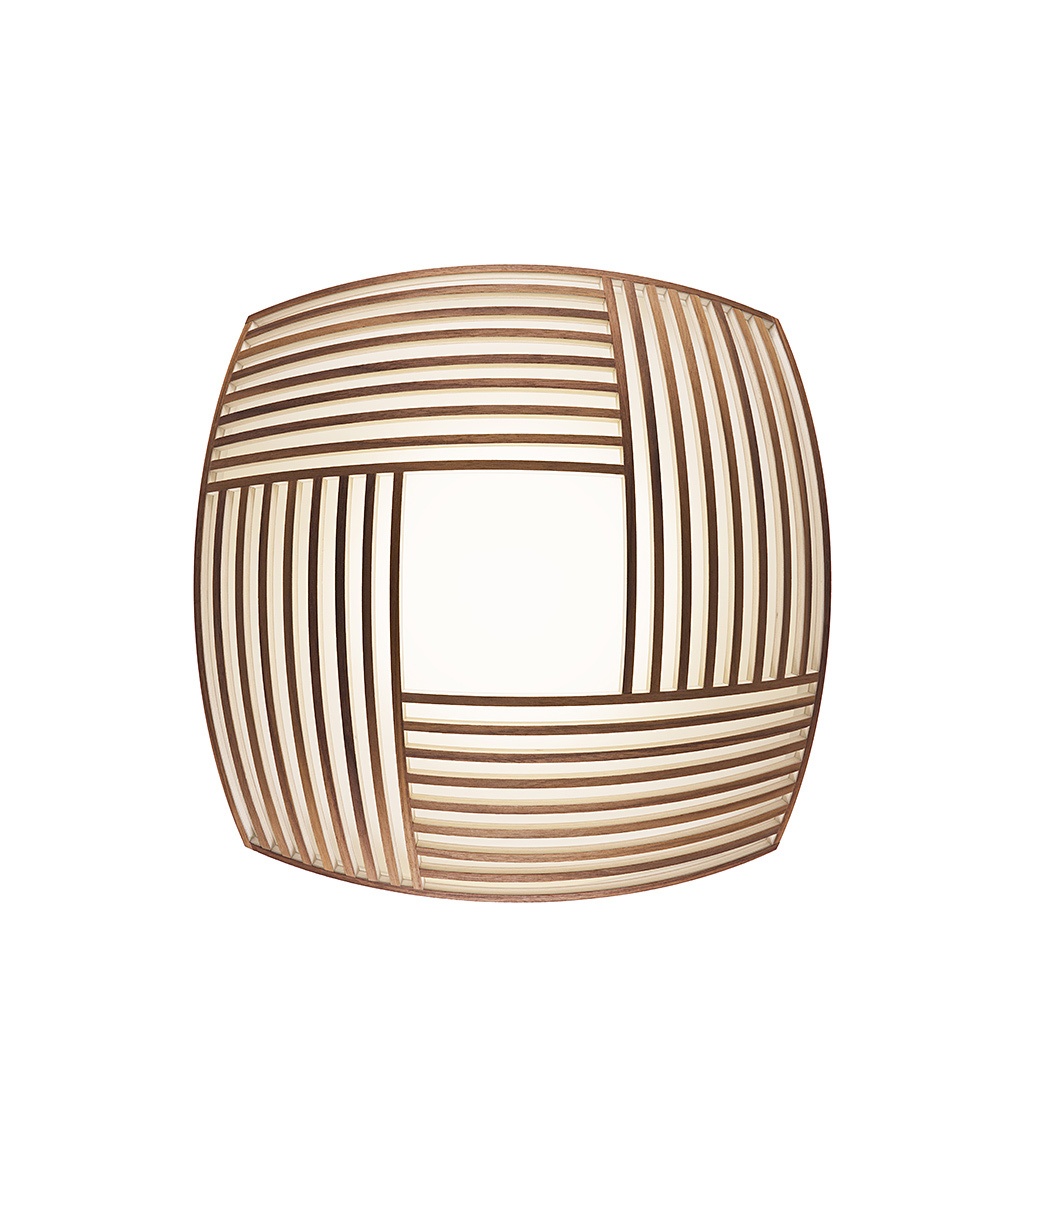
Kuulto 9100 ceiling lamp:
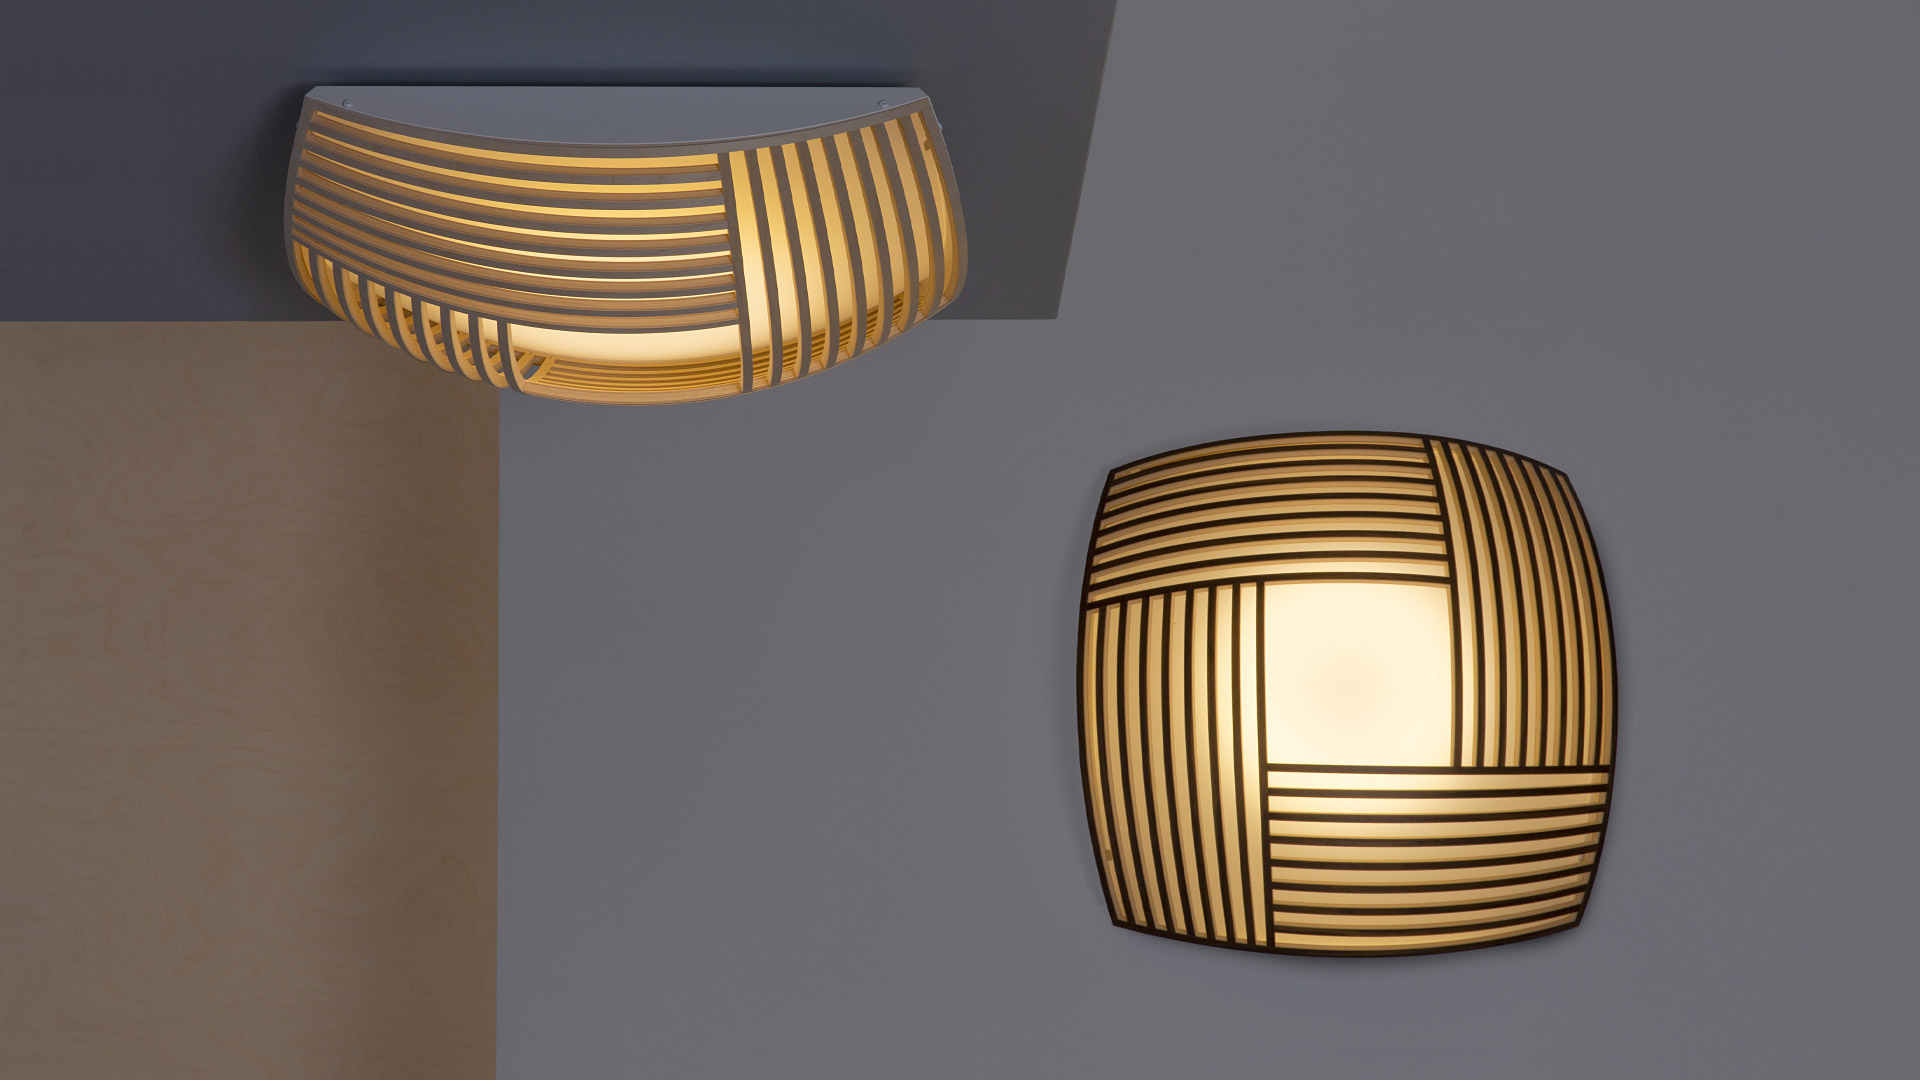
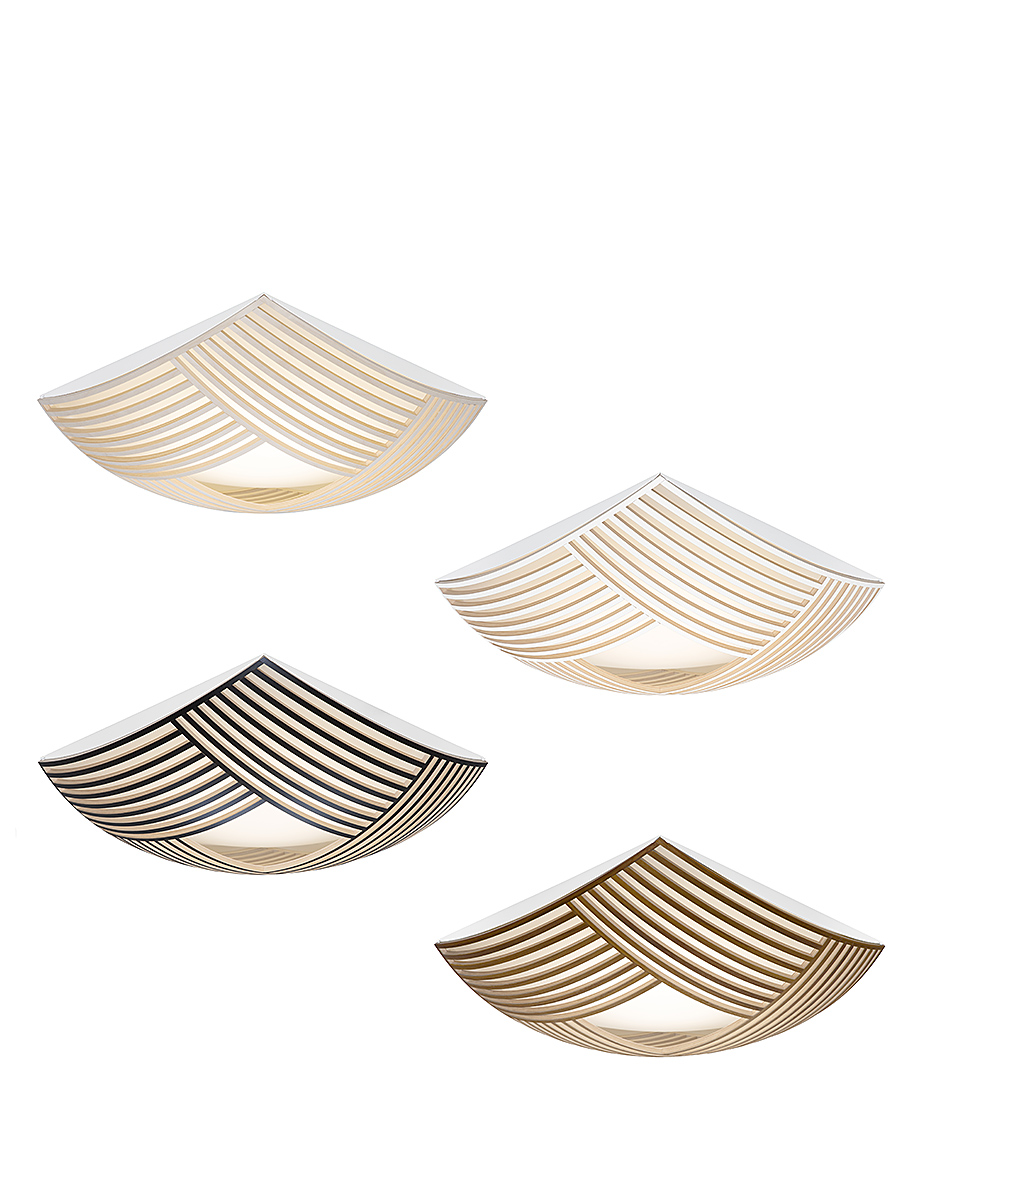
Independent yet modular
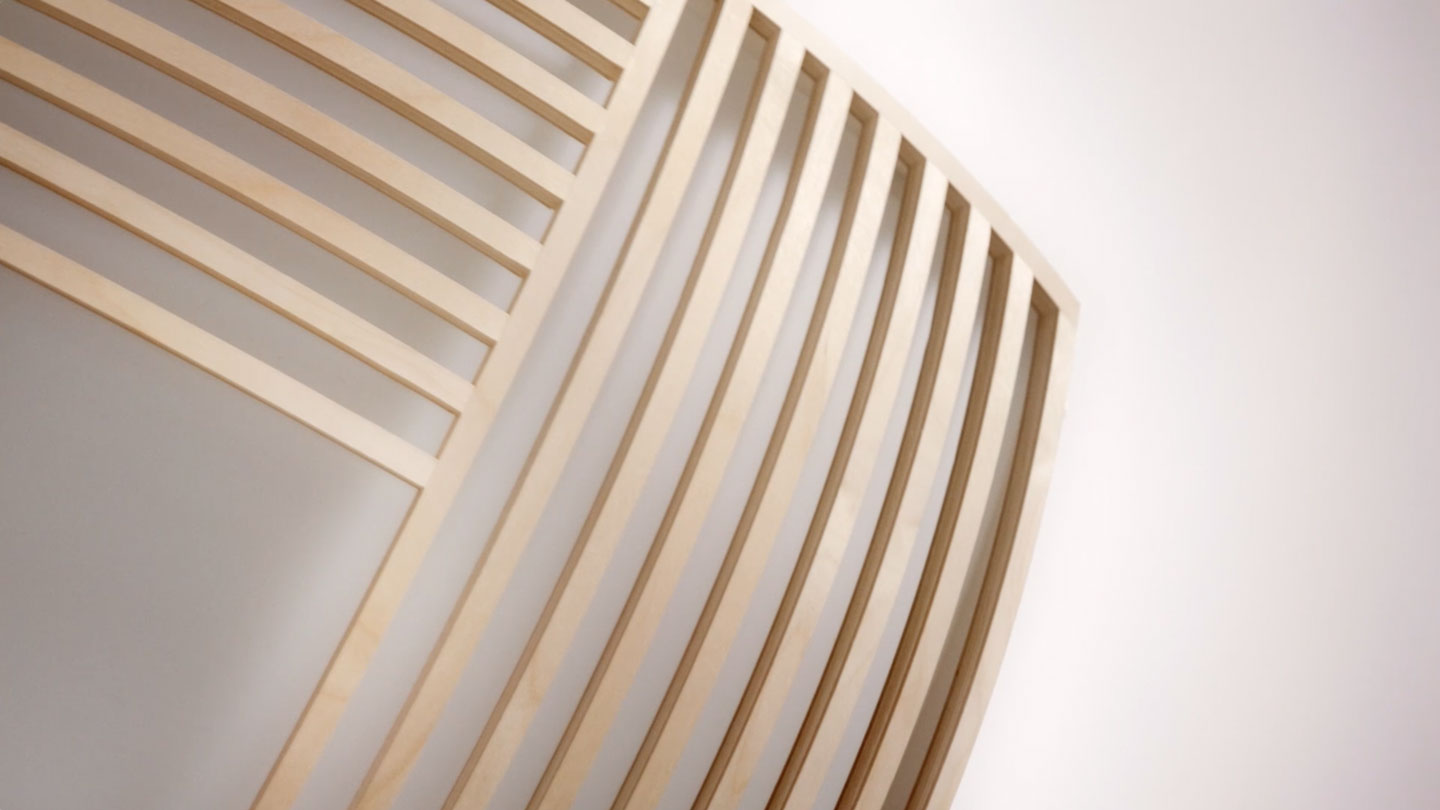
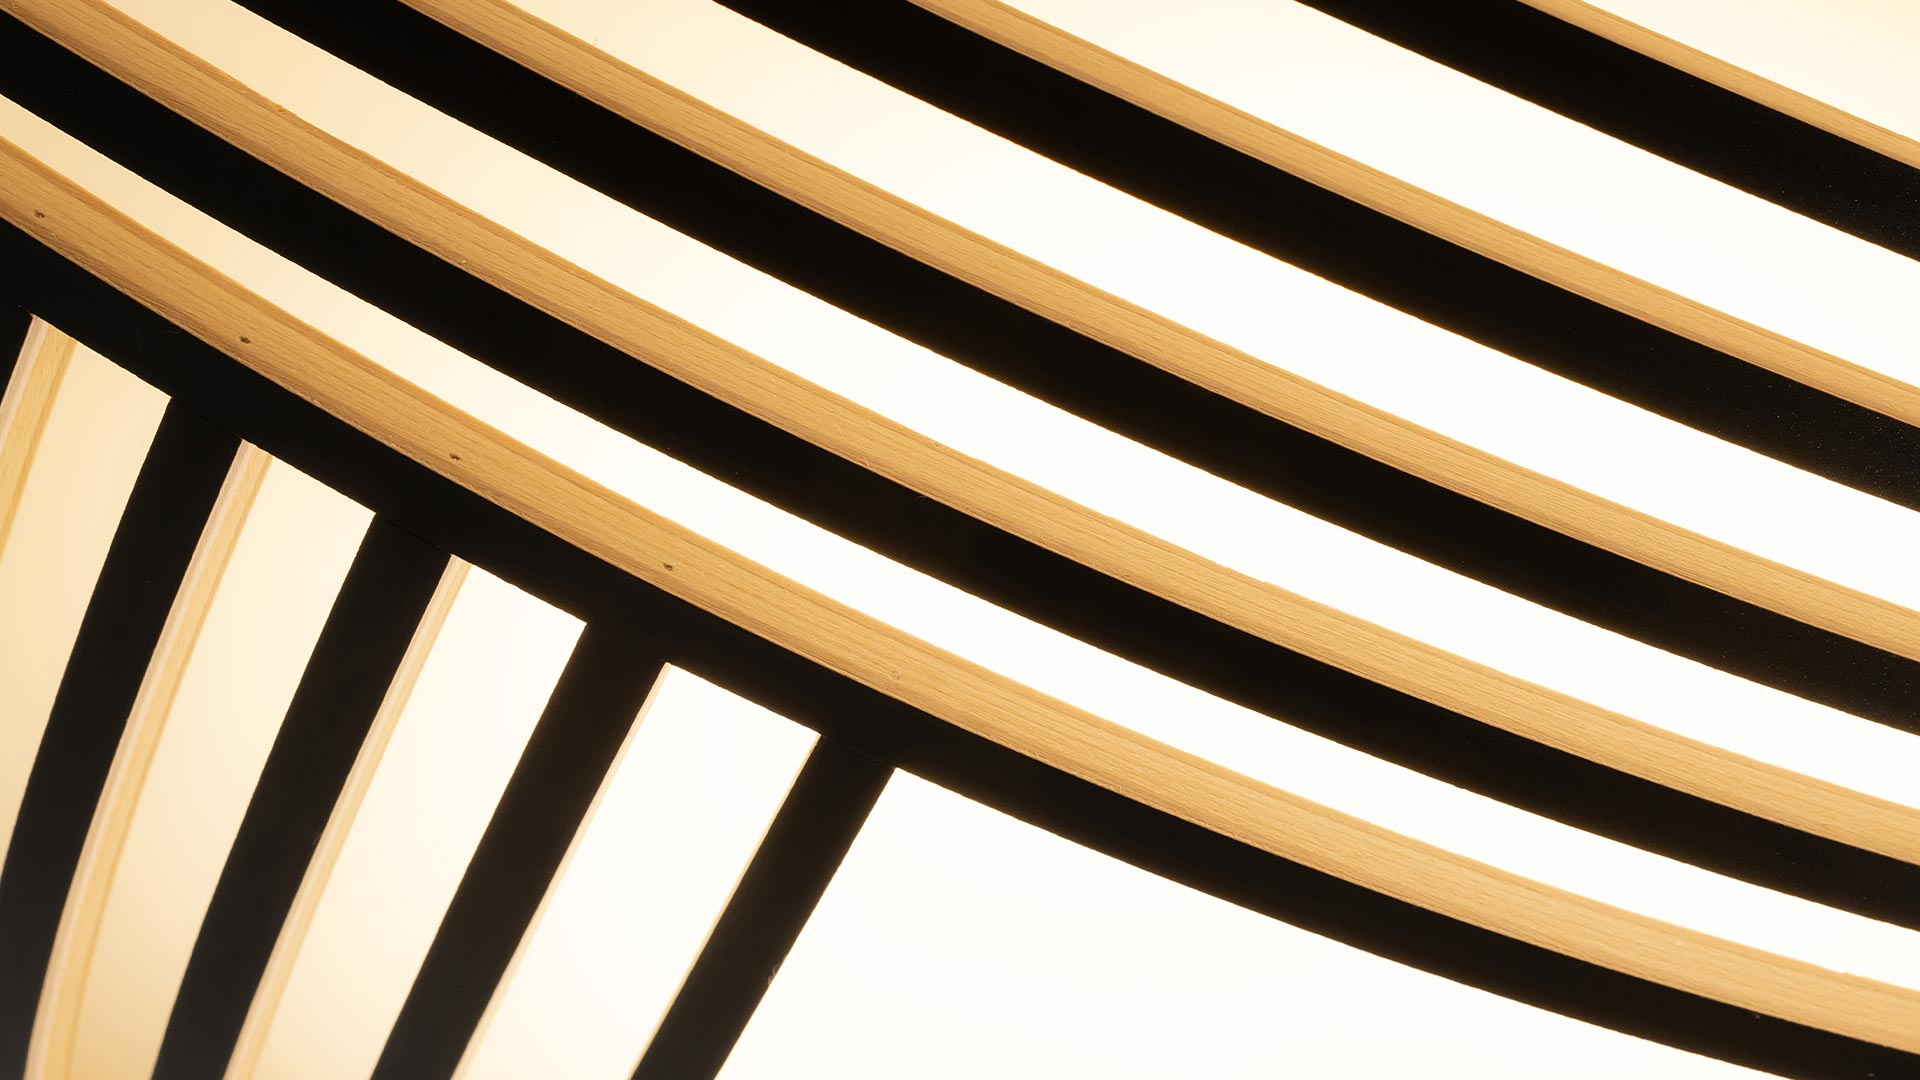
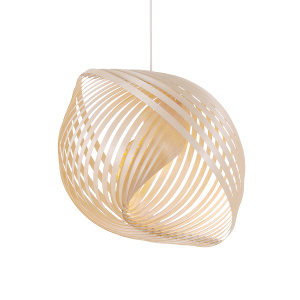
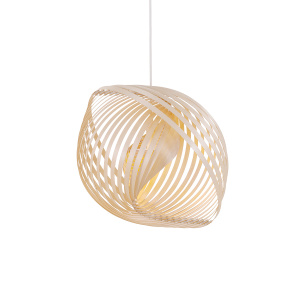
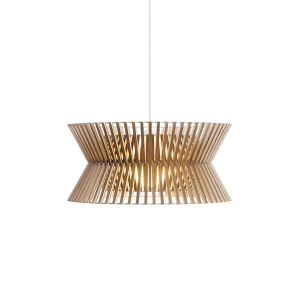
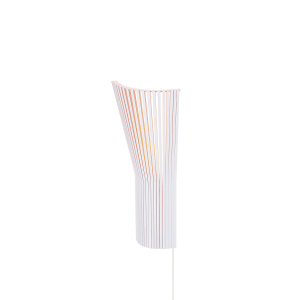
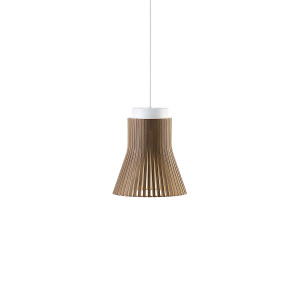
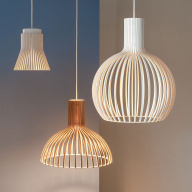
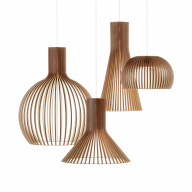
Kuulto brings new character to the world of ceiling fixtures, where wood as material is not commonly encountered. A modular entity also for the wall.
More images of the Kuulto 9100 ceiling lamp here
Handmade of PEFC-certified form pressed birch in Finland by highly skilled craftsmen.
Natural birch | ||
White laminated | ||
Black laminated | ||
Walnut veneer |
Material | Form pressed birch slats, white painted steel casing, acrylic glass |
Dimensions | Height 15 cm Width 52 cm Weight 5,2 kg Package 59 × 59 × 18 cm, 7,6 kg |
Voltage | 220-240VAC 50Hz |
Light source | A built-in LED by aLED, 20 W, 3000 K, 3100 lm, CRI > 80, dimmable (built-in trailing edge compatibility) |
Classification | Ingress Protection IP20, IEC Protection Class II, CE marking |
Installation | Separate instructions on the website. |
Maintenance | Wipe dust regularly. To remove fresh stains wipe with a slightly damp cloth. |
Step 1 | Warning: Don't lift the lamp from the shade, instead always hold it from the lamp body. |
Steps 2 | Lift up the lamp body from the package by holding it from the sheltering structure around it. |
Step 3 | Remove the two bottom elements that locks the sheltering structure. |
Step 4 | Open the sheltering structure. |
Step 5 | Lift up the lamp by holding it from the lamp body. Warning: Don't lift the lamp from the shade. |
Step 1 | The lamp includes: A) shade, B) electric cable, and C) back plate, size 24,5 x 18,4 cm, height 1,4 cm |
Steps 2, 3 | The lamp is directly mounted to the cables coming out of the ceiling socket. Please consult an electrician regarding the power cable installation! |
Step 4 | Screw the back plate to the wall (screws not incl.) |
Step 5 | Slide the wooden shade onto the plate along the wooden rails and connect the electric cables together. |
Step 6 | Slide the lamp until the lock secures the position. |
Warning: The cable and the built-in LEDs can only be replaced by the manufacturer.
Step 1 | Switch off the electricity. |
Step 2 | Lift the lamp and unlock it to slide. NOTE: The lamp should still be supported by the rail until the step 4. |
Step 3 | Slide the lamp until the connector becomes accessible. |
Step 4 | Disconnect the connector. |
Step 5 | Slide the lamp and remove from the rail. |
Step 6 | Remove the screws. NOTE: Protect the acrylic glass and wooden part with soft material. |
Step 7 | Lift up the back plate and remove dust. Be careful not to scratch. |
Light distribution curve of Kuulto 9100. Polar curve of the angular luminous intensity distribution at two perpendicular C planes and at C plane with maximum luminous intensity. In order to see the full test report, please contact us.
See how our lamps look together in different arrangements and create your own eye-catching installation tailored to your interior.